Unreal Engine#
This plugin integrates Prism into Epic Games Unreal Engine.
Overview#
The Unreal plugin can be used for animation projects as well as the asset pipeline of game project. The focus of this plugin is on importing and exporting assets between between the Unreal Editor and the Prism project, as well as a tight integration into the Sequencer in Unreal for rendering real time projects.
This plugin is not a replacement of version control systems in Unreal like Perforce. Instead it acts like a bridge between a Prism project and an Unreal project, which can live in a completely different folder.
Supported UE versions: 5.0 - 5.7
Setup#
This plugin can be installed using the Prism Hub like any other plugin.
The plugin is available on Windows only.
To setup the Unreal plugin in Prism you need to have an active Prism project and an existing Unreal project. In your Prism Project Settings there is an "Unreal" tab when this plugin is loaded. Here the path to your Unreal project can be added.
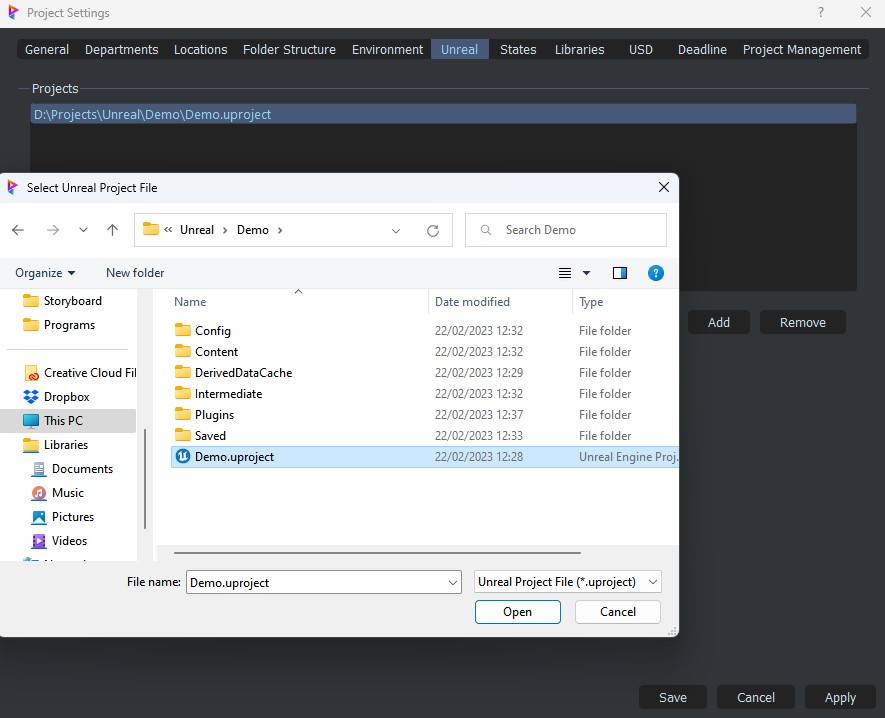
One Prism project can be connected to multiple Unreal projects, but an Unreal project can only be connected to one Prism project. When you add an Unreal project in the Prism Project Settings, Prism will copy an Unreal plugin called "Prism" to into the "Plugins" folder of the Unreal project.
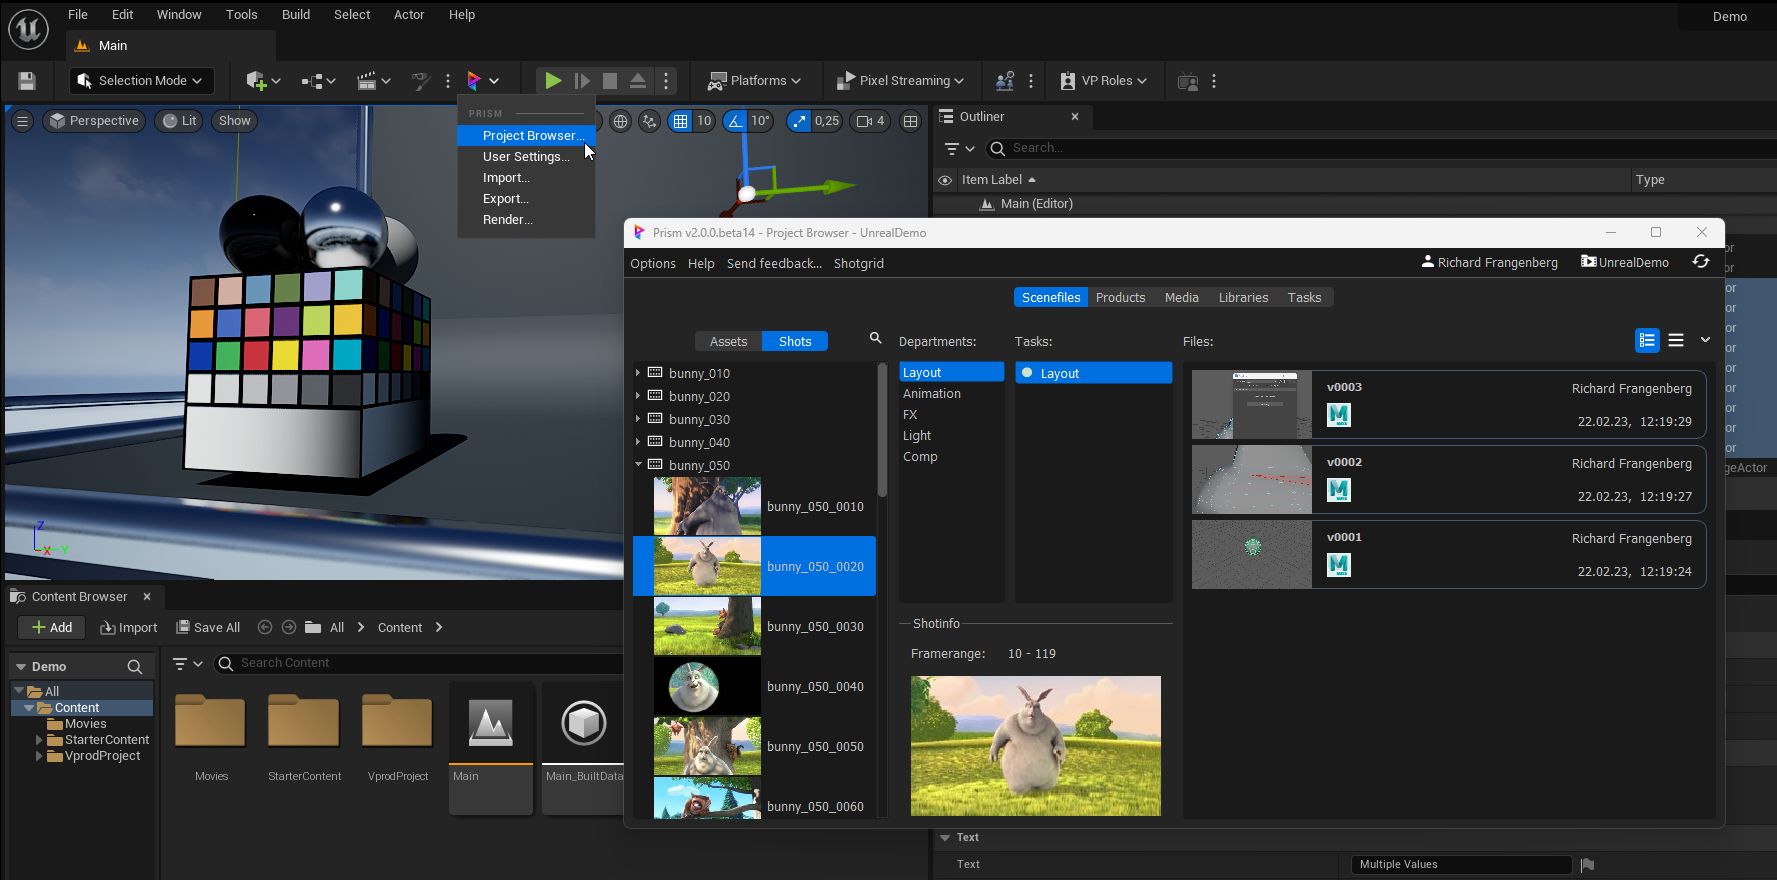
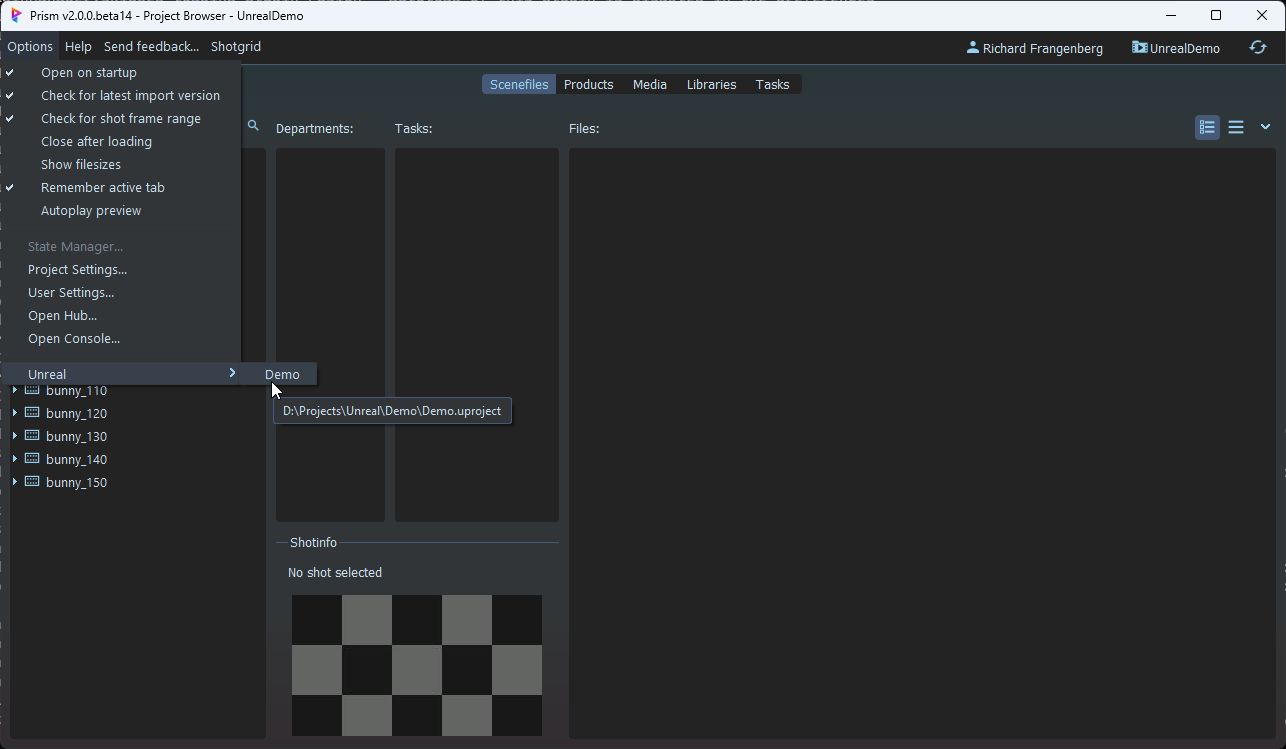
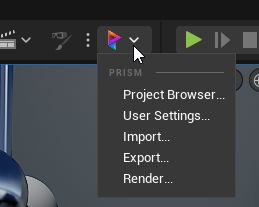
Now you can see a new "Unreal" menu in the "Options" menu of the Prism Project Browser. From here you can easily launch any connected project in the Unreal Editor. However you can also continue to launch the Unreal Editor in different ways like using the Epic Launcher.
Once the Unreal project is connected to a Prism project, you will see a Prism button in the menu bar above the viewport in the Unreal Editor. From here you can access all the available Prism tools in Unreal.
Importing Shots#
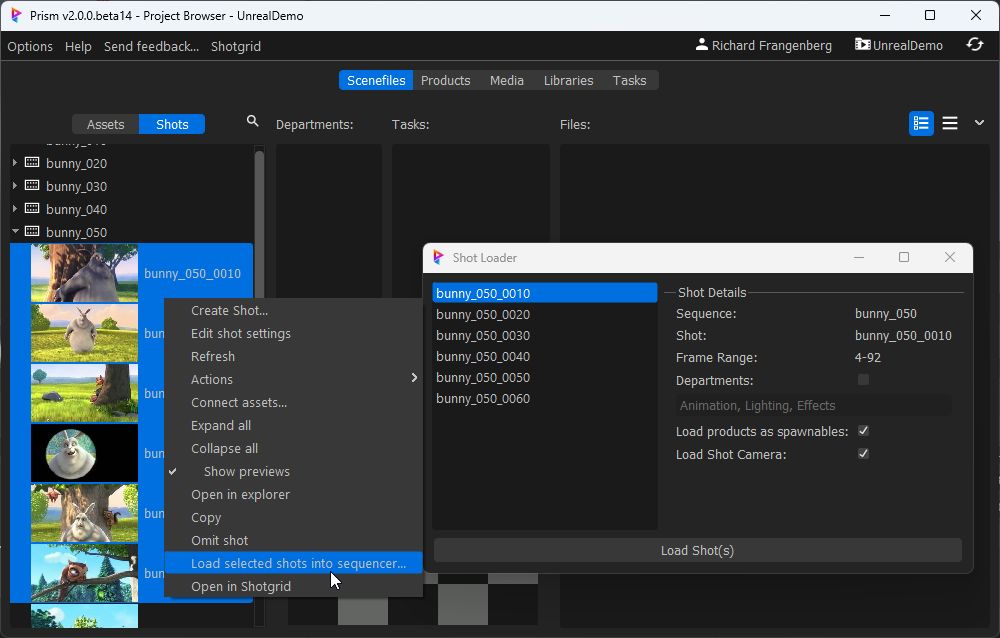
Shots from the Prism project can be imported into the Unreal Sequencer using the following steps:
Click the Prism icon on the menu bar and open the Project Browser
In the Scenefiles, Products or Media tab select any shots you want to import (multiple shots can be selected using the ctrl and shift buttons)
Select "Load selected shots into sequencer..."
This will open the "Shot Loader" window, where you can see information about each shot and set some import settings: - Departments: If enabled Prism will create a Level Sequence for each department inside the shot Level Sequence - Load products as spawnables: If enabled Prism will look in each imported shot for products with the "unreal" or "usd" tag, import them into Unreal and add them to the shot Level Sequence - Load Shot Camera: If enabled Prism will look in each imported shot for a "Shotcam" product, import it into Unreal and add it to the shot Level Sequence. Additionally the camera will be added to a Camera Cut track.
Press the "Load Shot(s)" button to import the shots. The Unreal Sequencer will open after the import is finished.
Importing products#
Importing products allows you to easily bring in products like geometry caches from other DCCs into Unreal. Currently supported file formats are Alembic, USD, FBX and OBJ.
There are multiple ways how a product can be imported into Unreal:
By using the "Import..." option in the Prism menu and double clicking a product version in the window that opens.
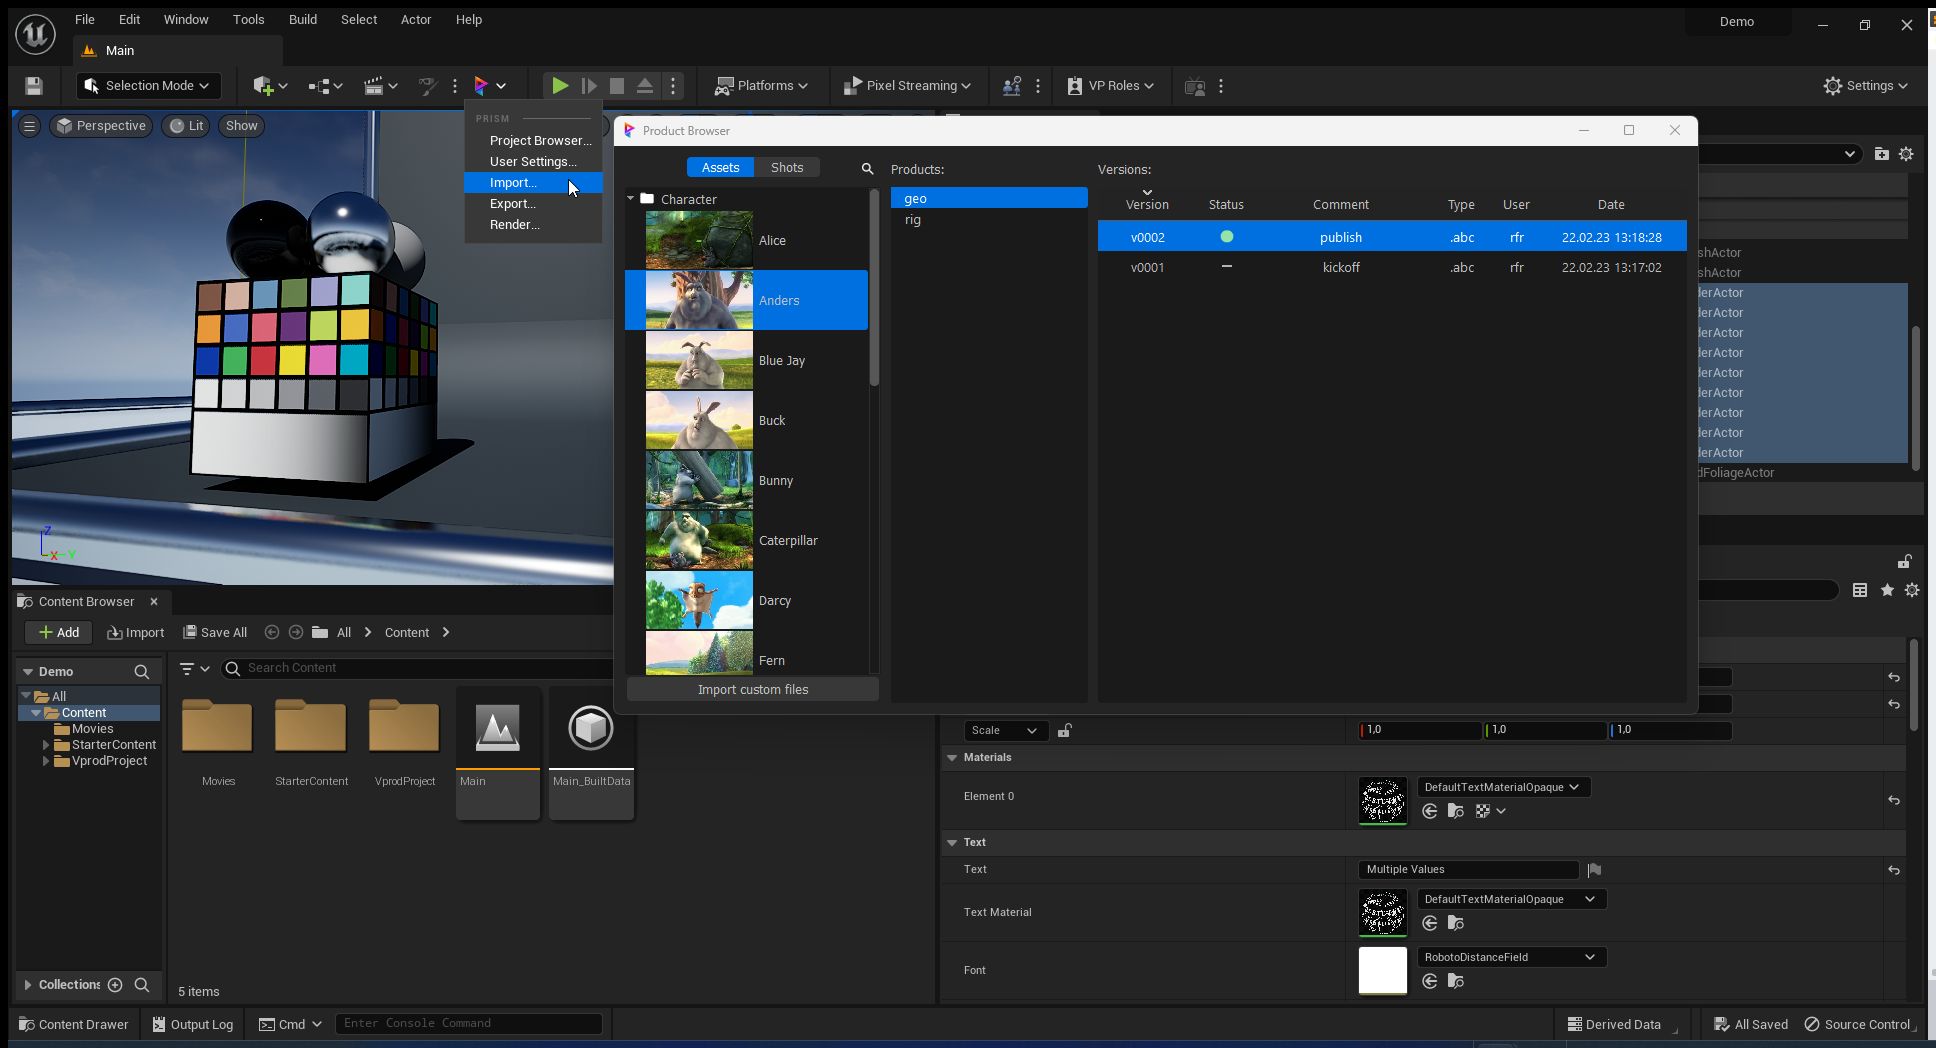
By opening the Project Browser, going to the "Products" tab and double click or import from the context menu of a product version.

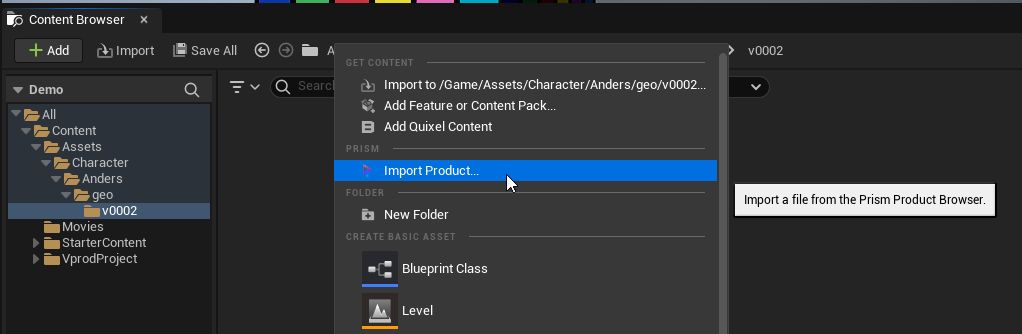
By navigating to a target folder in the Unreal Content Browser and selecting "Import Product..." from the context menu.
Imported shot products can be added automatically to the level sequence, which matches the shot of the product. The Unreal import settings window will be shown during the export. You can press CTRL during the import to suppress this window and import the product with the default settings.
Importing Cameras#
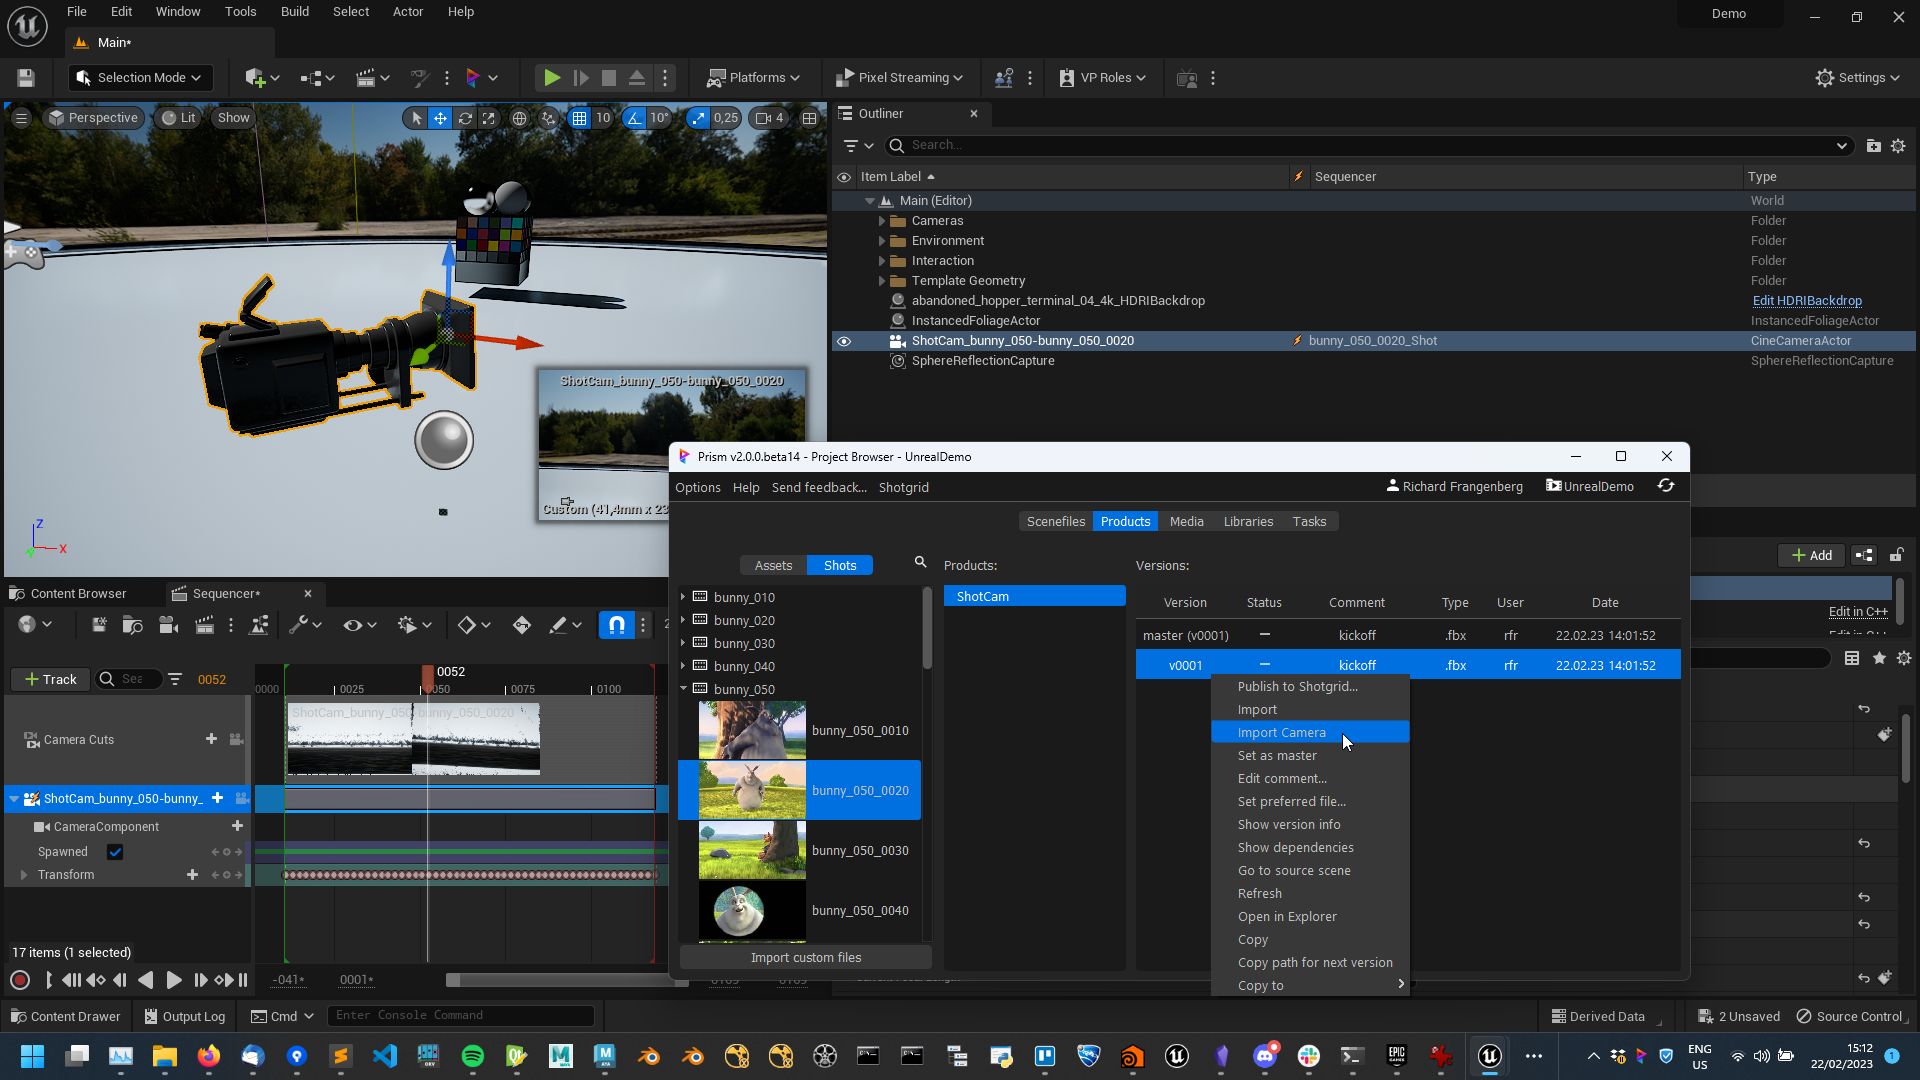
To import a camera into Unreal, rightclick a product with the .fbx extension and select "Import Camera". This will create a Cine Camera Actor in the level sequence of the shot in which the product is saved. If the level sequence for this shot doesn't exist you have the option to create it. The fbx camera including it's animation will be imported to the Cine Camera Actor and the actor will be added to the Camera Cut Track of the level sequence.
Importing HDRIs#
HDRIs can be imported from the Libraries tab in the Prism Project Browser, by rightclicking an .hdr or .hdri file and selecting "Import as HDRI Backdrop". This will create an HDRIBackdrop actor in the Unreal Outliner and load the selected HDRI file. This requires the HDRIBackdrop Unreal plugin to be loaded.

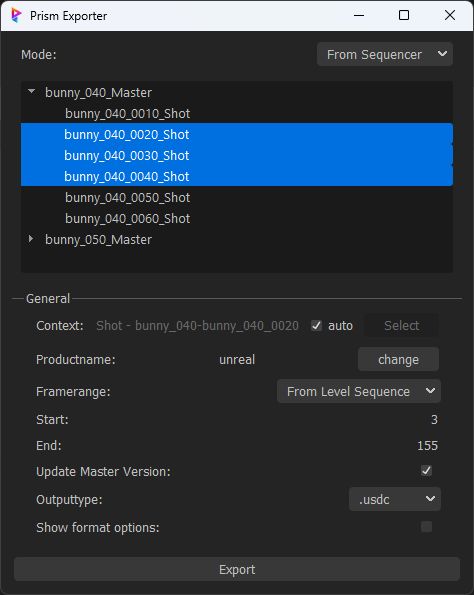
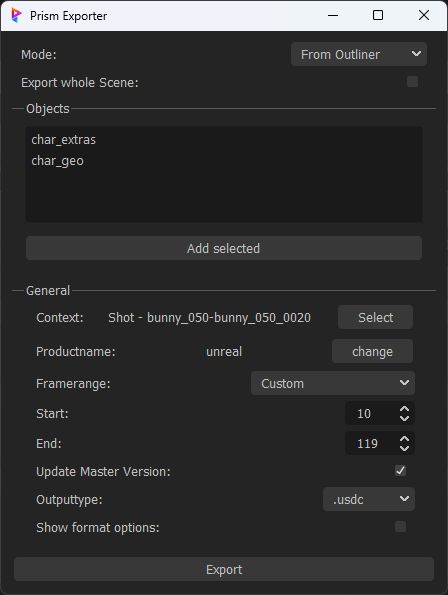
Exporting products#
Render#
To render level sequences you can open the "Prism Render" window from the Prism menu or by choosing the "Render to Prism..." option when rightclicking a level sequence in the Unreal Content Browser.
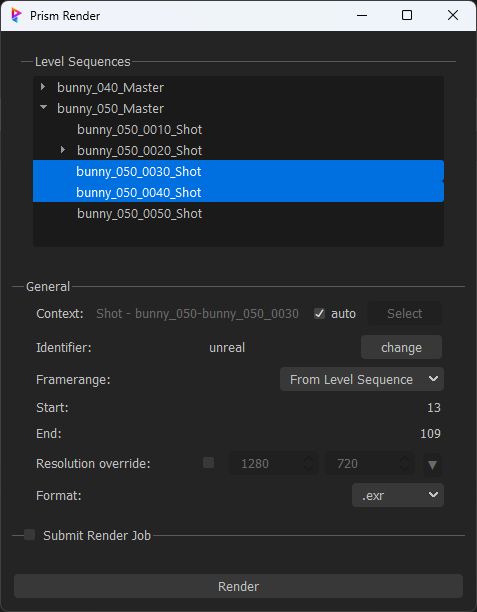
Select one or more level sequences to be rendered from the list of level sequences and set the output settings in the section below. The rendered images will be saved in the in the Prism project under the shot folder, which matches the shot of each level sequence. If the auto context checkbox is unchecked you can specify a specific asset/shot in which the images will be saved.
If the Deadline Prism plugin is loaded, the render can be submitted as a renderjob to Deadline.
Render job presets can be selected in "Render Job" dropdown setting if they exist in the Movie Render Queue. If the Movie Render Queue is empty, Prism will create a default preset. Please note that, in order to submit renders to Deadline, a preset have to exist in the Movie Render Queue and need to be saved to disk.
Troubleshooting#
Exporting USD to a network drive#
If you're exporting USD files from Unreal to a network drive you might encounter the case that no USD files are written to disk and in the Unreal Output Log window you see an error like:
USD: Error: TF_DIAGNOSTIC_RUNTIME_ERROR_TYPE: Insufficient permissions to write to destination directory
This is caused by a bug in USD and at the time of writing, Unreal didn't implement a workaround yet like some other DCCs.