Installation and Project Setup#
Installation#
Download the Prism installer from here and execute it.
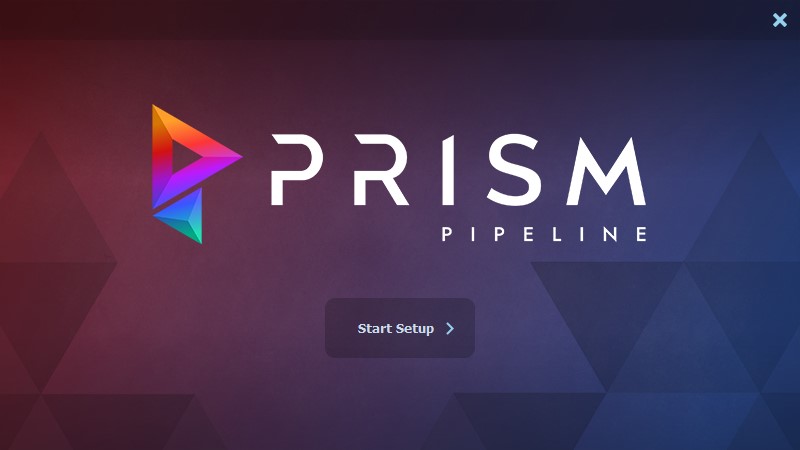
Click the “Start Setup” button and accept the license agreement on the next page:
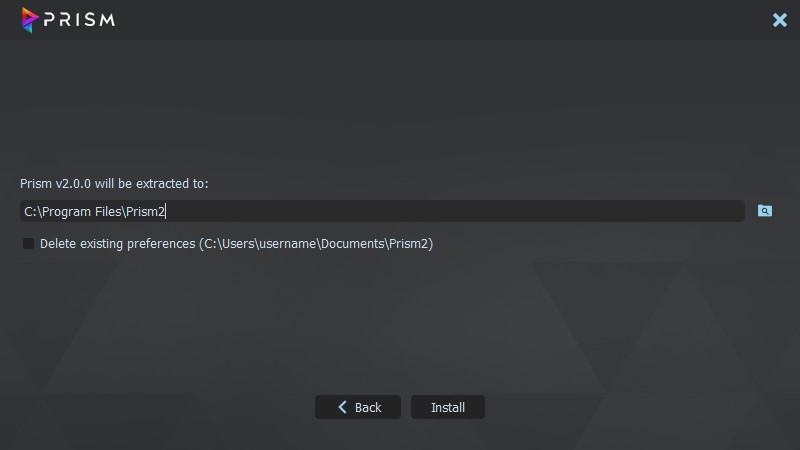
Set the path where you want to install Prism. If there are existing Prism preferences found on your computer, you have to option to delete the preferences to perform a clean installation.
After the installation is complete you can launch Prism from the installer or the desktop shortcut.
Installing plugins#
After Prism is installed you can install plugins from the Prism Hub to integrate Prism into your DCCs.
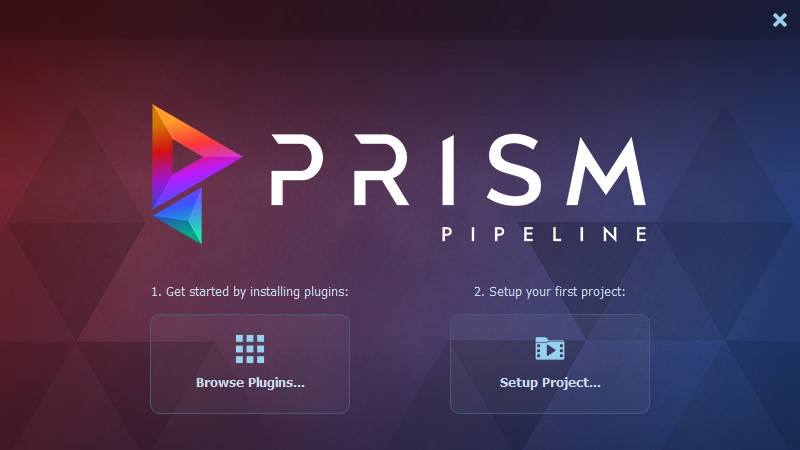
When you launch Prism for the first time you will be presented with a welcome screen from where you can open the Prism Hub.
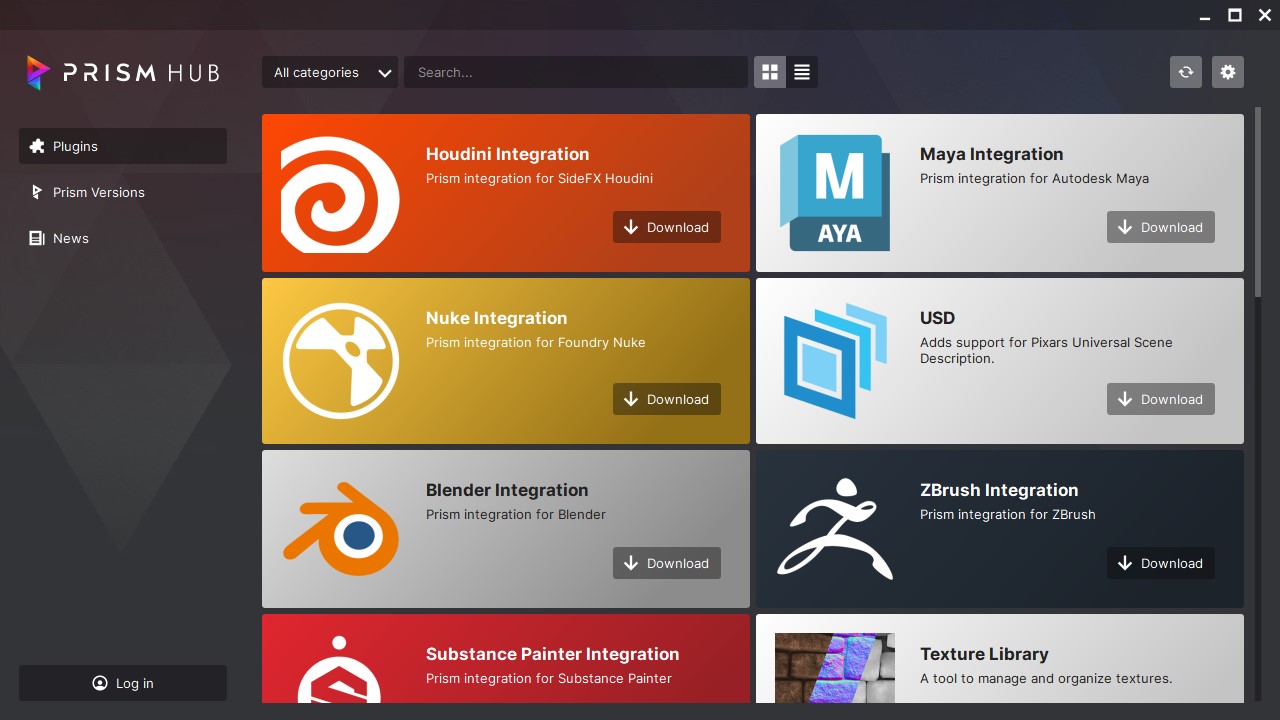
In the Hub you can download and install any plugins you like.
After installing certain plugins, a window will popup, which will configure the Prism integration for that plugin.
Alternatively you can add or remove Prism integrations from the “DCC apps” tab in the Prism User Settings.
Create a project#
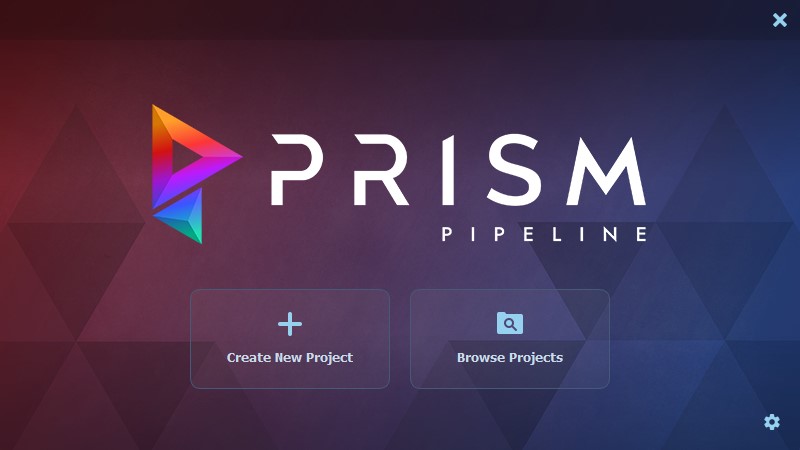
Return to the welcome screen, where you have an option to create a new project.
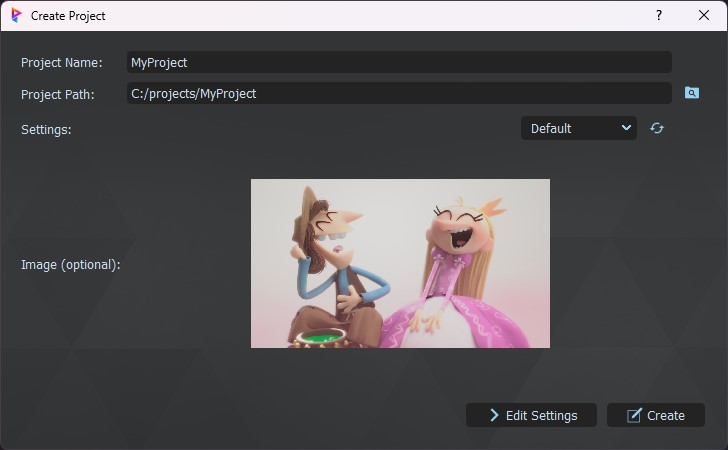
The project gets created and you can open the Project Browser to continue with the next steps.
Create assets and shots#
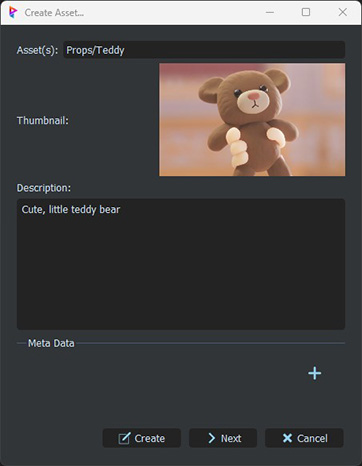
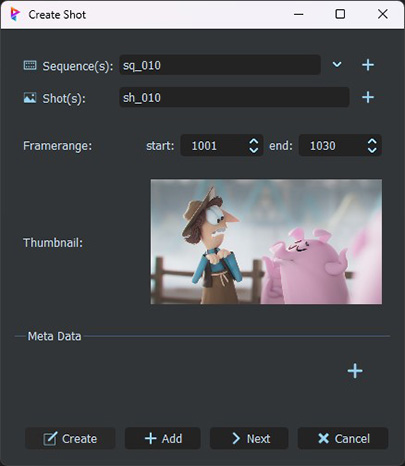
Double click in the empty area in the “Asset” or “Shot” list or use the context menu to create your first assets and shots.
Create departments#
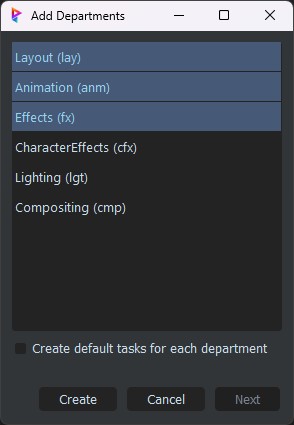
Select an asset/shot and double click in the departments list to create new departments.
Create tasks#
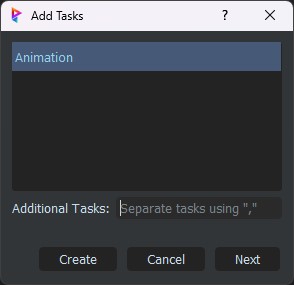
Select a department and double click in the task list to create new tasks.
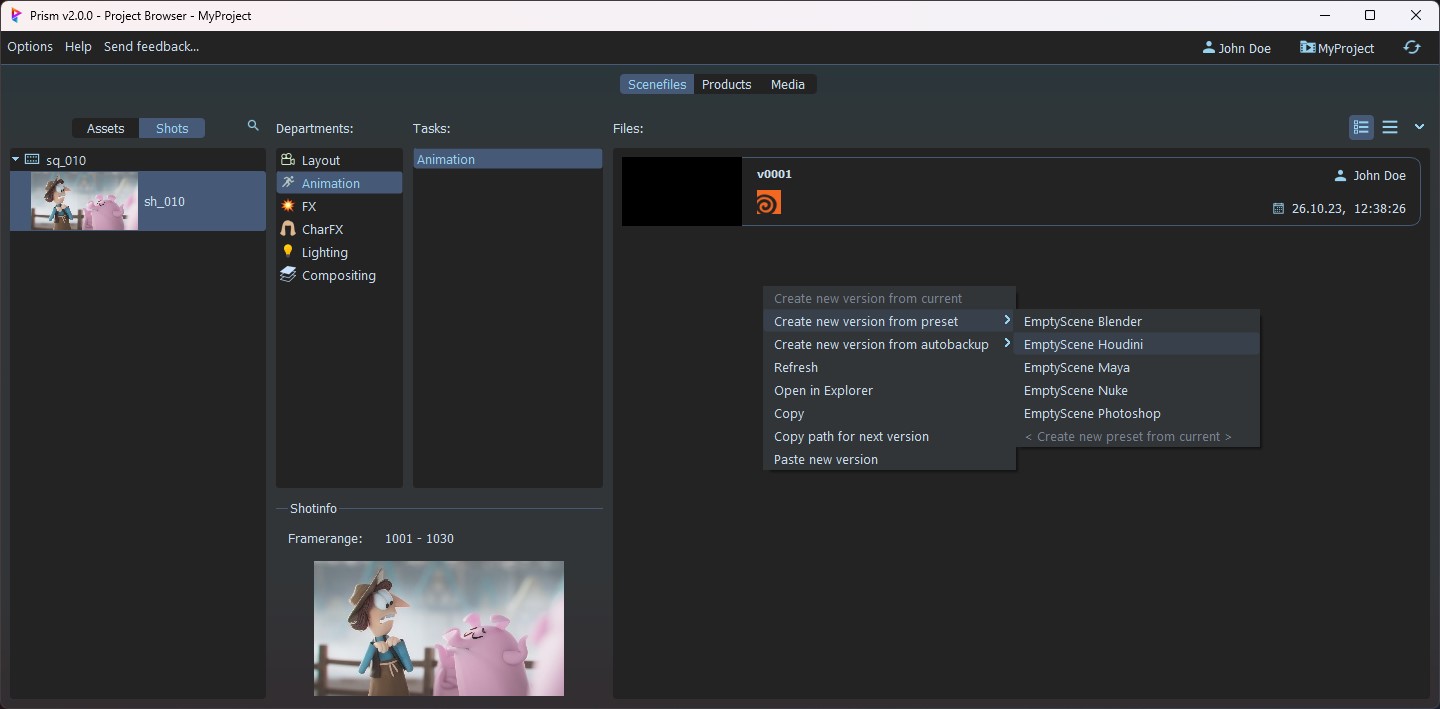
Create scenefiles#
Using Prism in your DCCs#
Next we will take a look at versioning scenefiles, exporting and importing objects, creating playblasts and submiting render jobs.
