Creating USD assets in Maya#
This guide explains the workflow of creating a USD asset in Prism and Maya.
Maya will be used to create the geometry and materials in this example, but you can also switch to different DCCs for one or more departments.
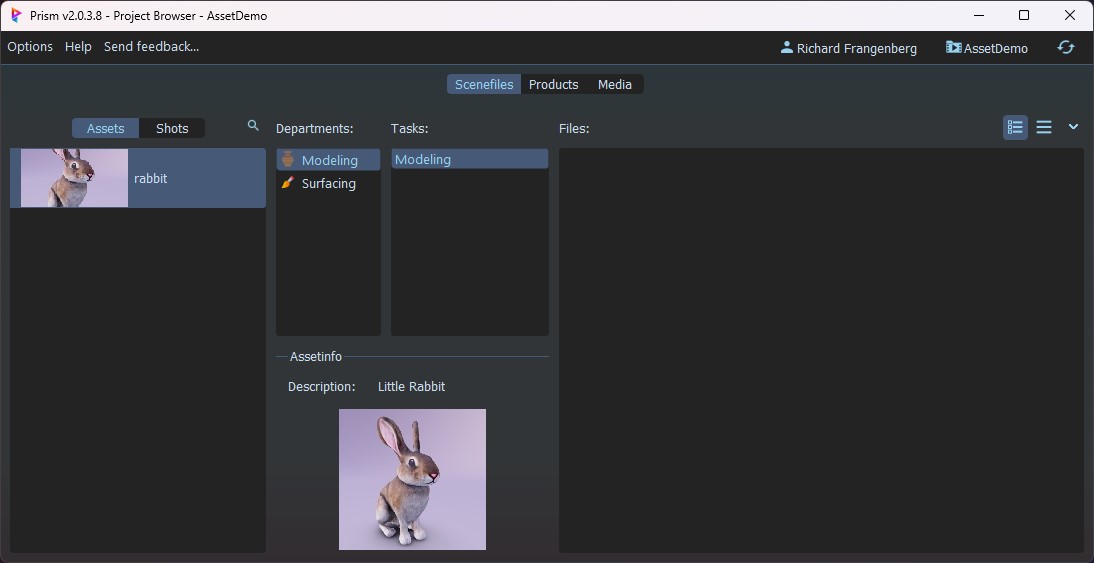
Asset Setup#
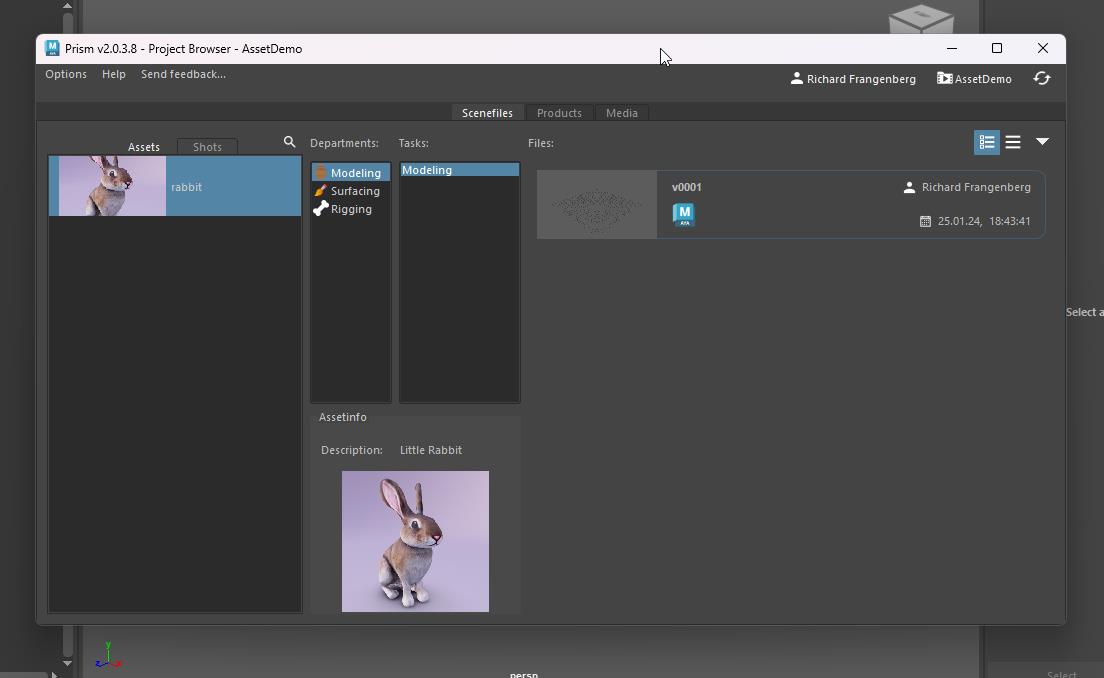
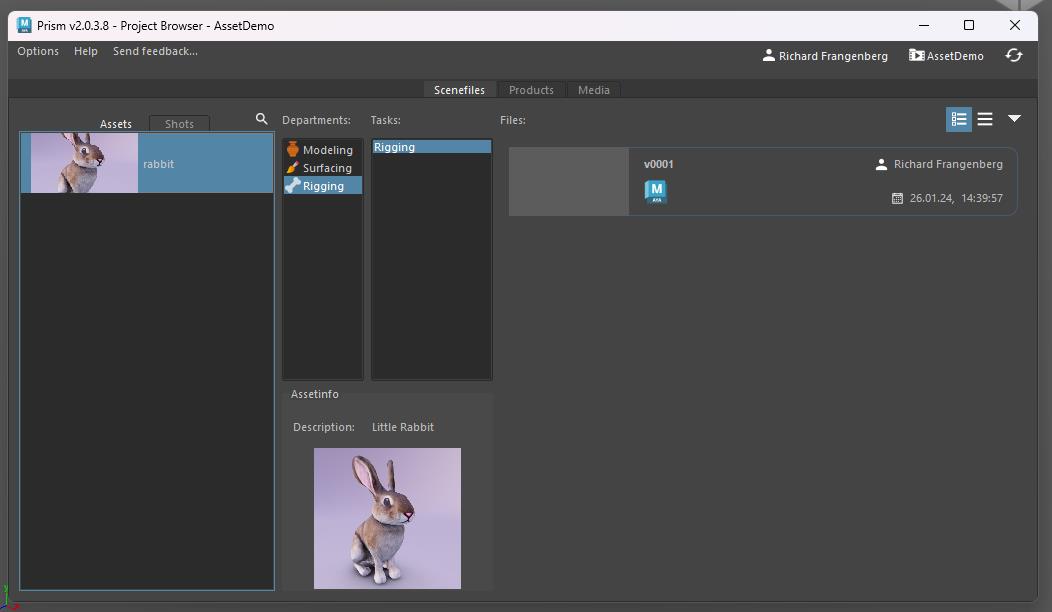
In your Prism Project Browser create a new asset and departments in the "Scenefiles" tab.
In the "Products" tab you can see that Prism automatically created a USD department layer for each department of your asset.
Note
If you don't see the department layers, make sure you have the "Create USD department layers automatically" option enabled in the Prism Project Settings -> USD.
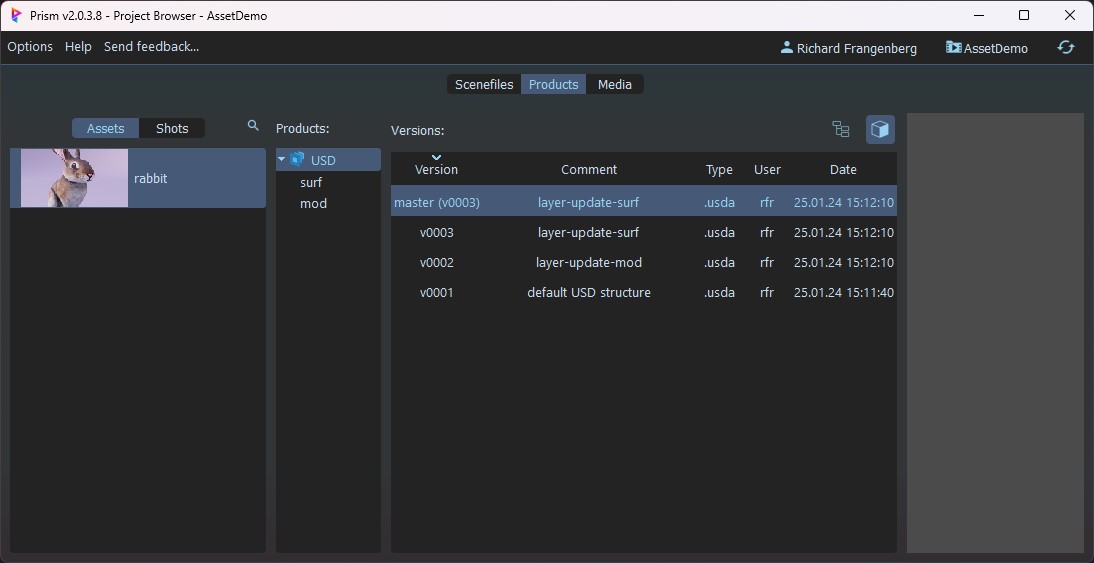
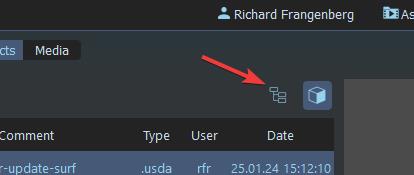
Select the latest version and press the little tree button on the right side above the version list.
This will open the Prism USD Editor, where we can examine the content of the USD asset.
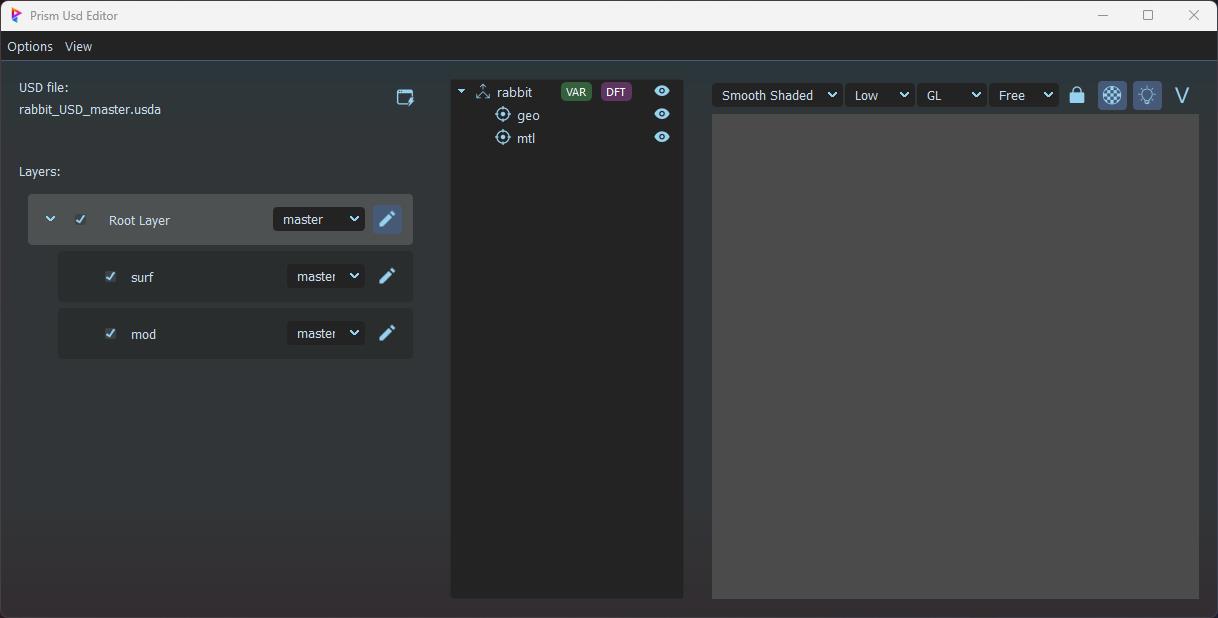
We can see our department layers and a default prim structure in the scenegraph tree, but there is no geometry or material in this asset yet.
Creating Geometry#
Open Maya and save your scenefile in the "Modeling" department of our asset.
Rightclick the USD Import shelftool and select "Create Default Geo Structure".

This will create groups in the outliner, which match this pattern:
/<assetname>/geo.The hierarchy matches the existing hierarchy of our asset USD in the Prism USD Editor, which is required when exporting the geometry.
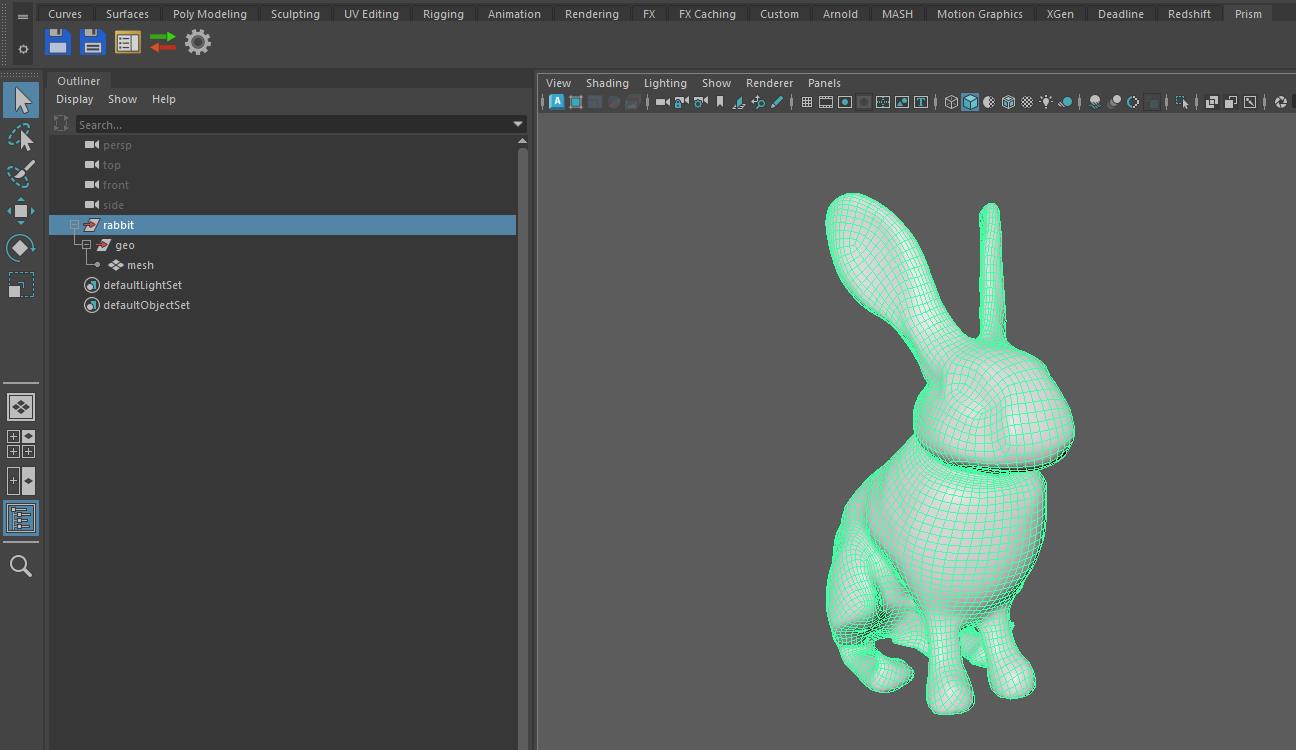
Select the root object in the outliner (
/rabbit) and click the USD Export button on the Prism shelf.Prism detects, that we are in the modeling department and configures the export settings accordingly.
Press "Export" to export the geo as the modeling USD layer.

In the Prism standalone Project Browser we can now navigate to our USD asset product and open it in the Prism USD Editor.
We can see the geometry in the viewport and the hierarchy of the geometry matches the Outliner in Maya.
Creating Materials#
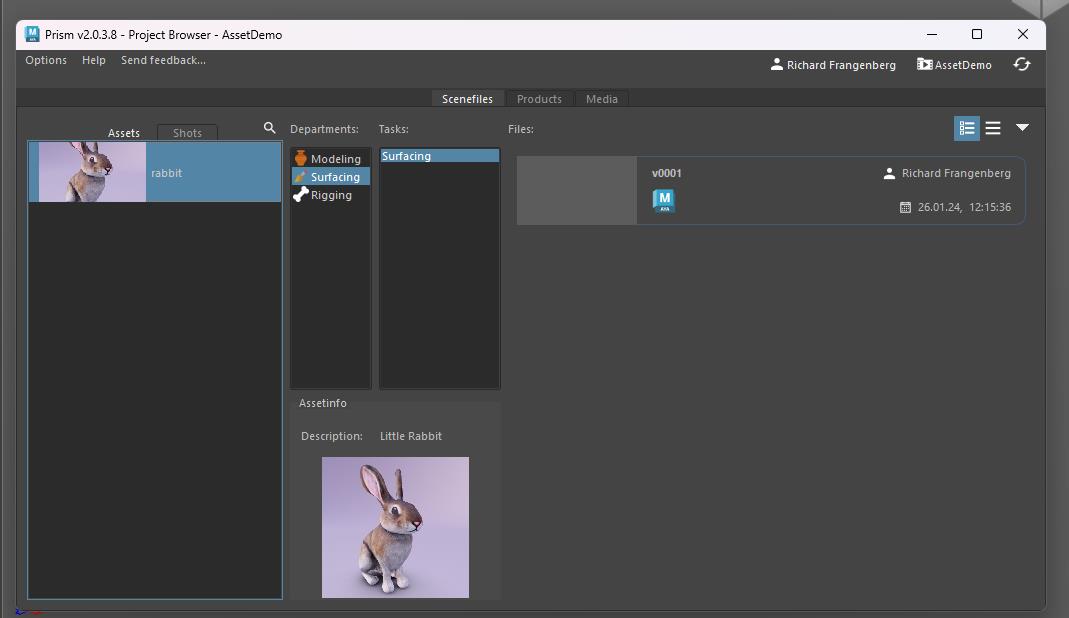
Save a new empty scene in the "Surfacing" department of our asset.
Doubleclick the USD Import button on the Prism shelf to import the latest asset USD file into your scenefile.
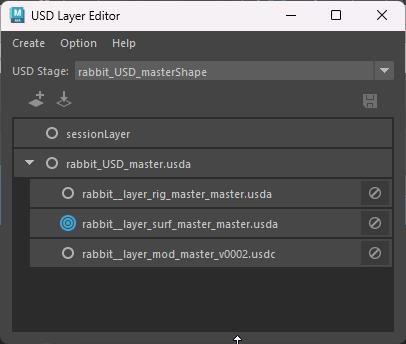
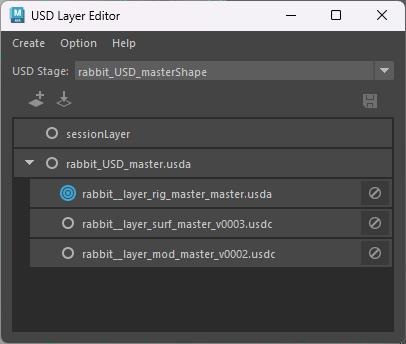
Open the Maya USD Layer Editor (Windows -> USD Layer Editor).
You can see your department layers and a work layer under the session layer is the Edit Target (blue circles indicator).
Rightclick the
/rabbit/mtl USD prim in the Outliner and select "Add New Material" -> "MaterialX" -> "Standard Surface"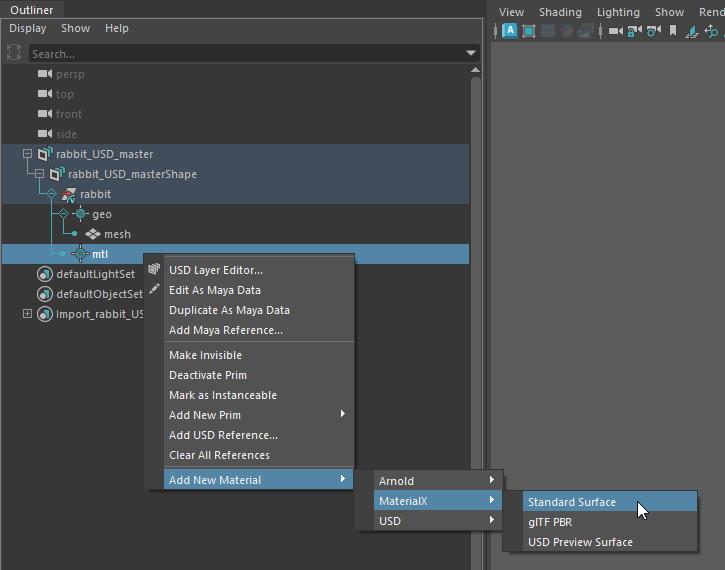
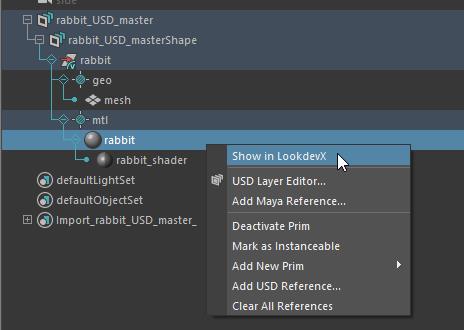
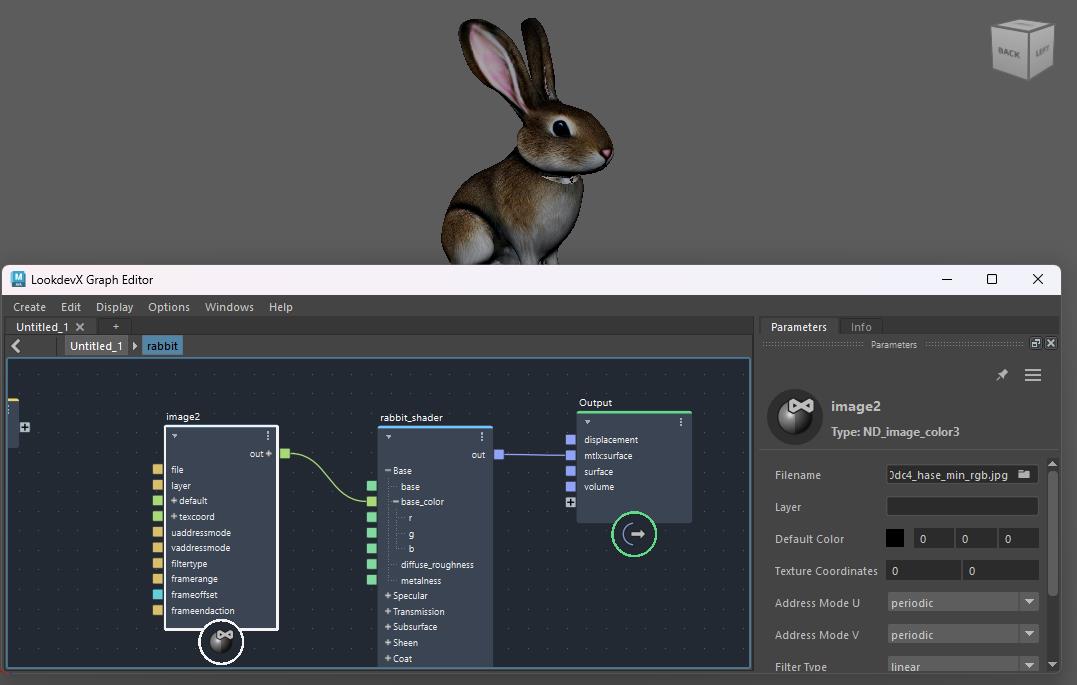
Rightclick the material an select "Show in LookdevX"
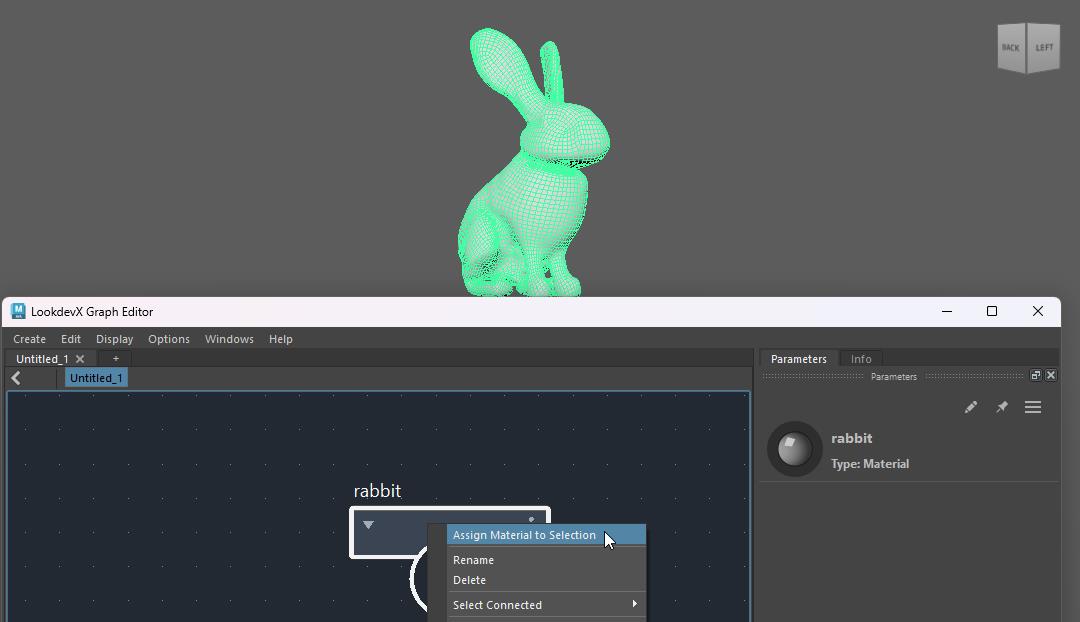
Select the geo in the viewport and then rightclick the material in the LookdevX editor and select "Assign Material to Selection"
Dive into the material, create a "ND_image_color3" node, set a texture path and connect it to the base_color of the material.
Click the USD Export button on the Prism shelf to open the USD export window.
Prism detects, that we are in the surfacing department and configures the export settings accordingly.
The "Export Type" setting is set to "USD Layer" and the "Layer" is set to the Edit Target layer, which contains our material definition and assignments.
You can click the "Show Layer Content" button if you want to check, which information is stored on this layer.
Press "Export" to export the layer as the surfacing USD layer.

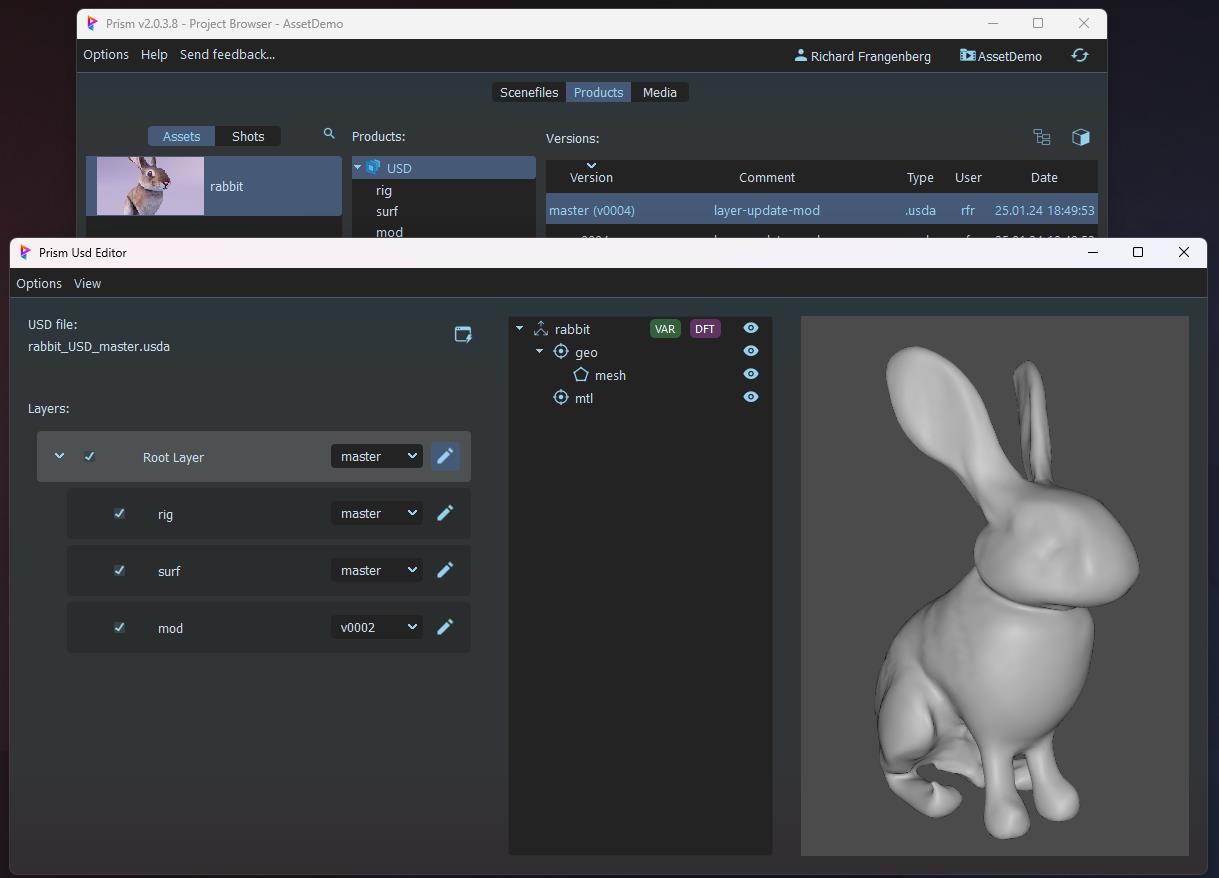
Back in the Prism standalone Project Browser open the latest version of our USD asset in the Prism USD Editor.
We can see our asset with applied material.
Toggling the surfacing layer will toggle the material in the viewport.
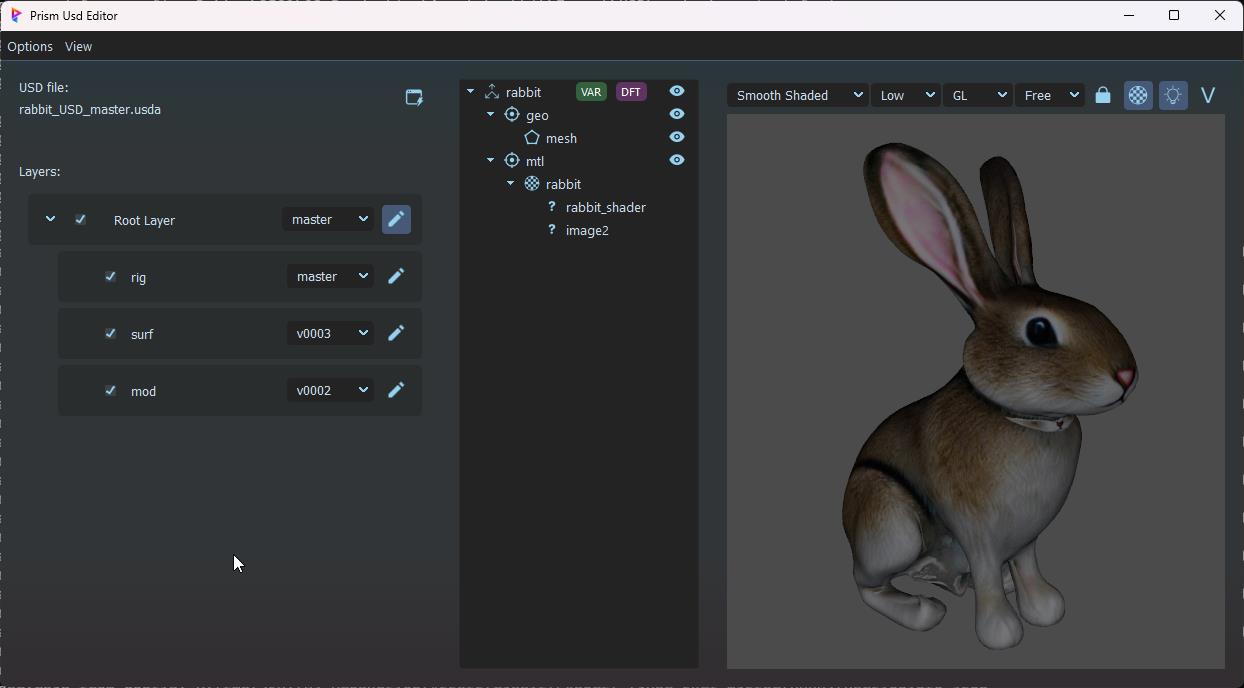
The modeling layer contains the geometry and the surfacing layer stores the materials and material assignments.
We can continue to create a rig in the next step or we could import the asset directly into a shot if a rig is not needed for this asset.
Rigging#
Save a new empty scene in the "Rigging" department of our asset.
Doubleclick the USD Import button on the Prism shelf to import the latest asset USD file into your scenefile.
Open the Maya USD Layer Editor (Windows -> USD Layer Editor).
You can see your department layers and a work layer under the session layer is the Edit Target (blue circles indicator).
Rightclick the
rabbit USD prim in the Outliner and select "Duplicate As Maya Data"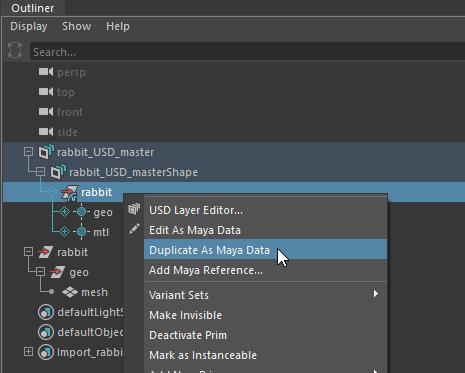
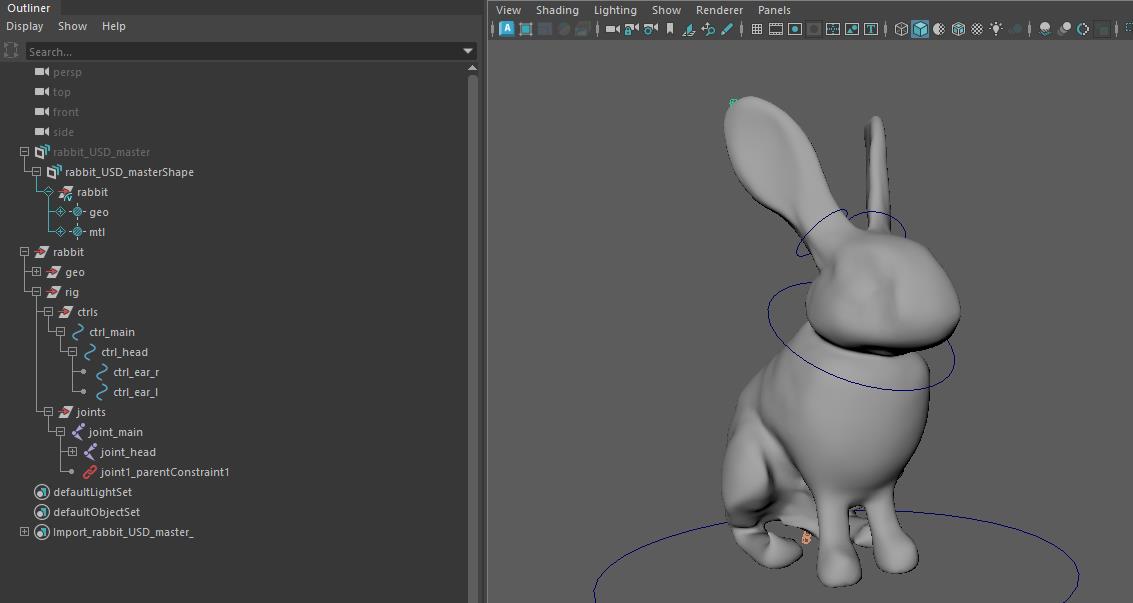
Create your rig for the duplicated geometry.
Select
rabbit root object in the Outliner and click the USD Export button on the Prism shelf to open the USD export window.Prism detects, that we are in the rigging department and configures the export settings accordingly.
Press "Export" to export the layer as the surfacing USD layer.

This will export the rig as .mb file into the
rig product in Prism and then add a "Maya Reference Prim" to the Edit Target Layer in the Maya USD Layer EditorThe "Maya Reference Prim" references the .mb file, which contains the Maya rig.
The Edit Target Layer will then be exported as the rigging department layer of our asset.
This "Maya Reference Prim" isn't visible in the viewport.
It's purpose is that inside of Maya it can be converted to Maya data, which will load the rig from the .mb file.

In the next step we will import this asset into a shot to animate and render it there.