Creating USD assets in Houdini#
This guide explains the workflow of creating a USD asset in Prism and Houdini.
Houdini will be used to create the geometry and materials in this example, but you can also switch to different DCCs for one or more departments.
Asset Setup#
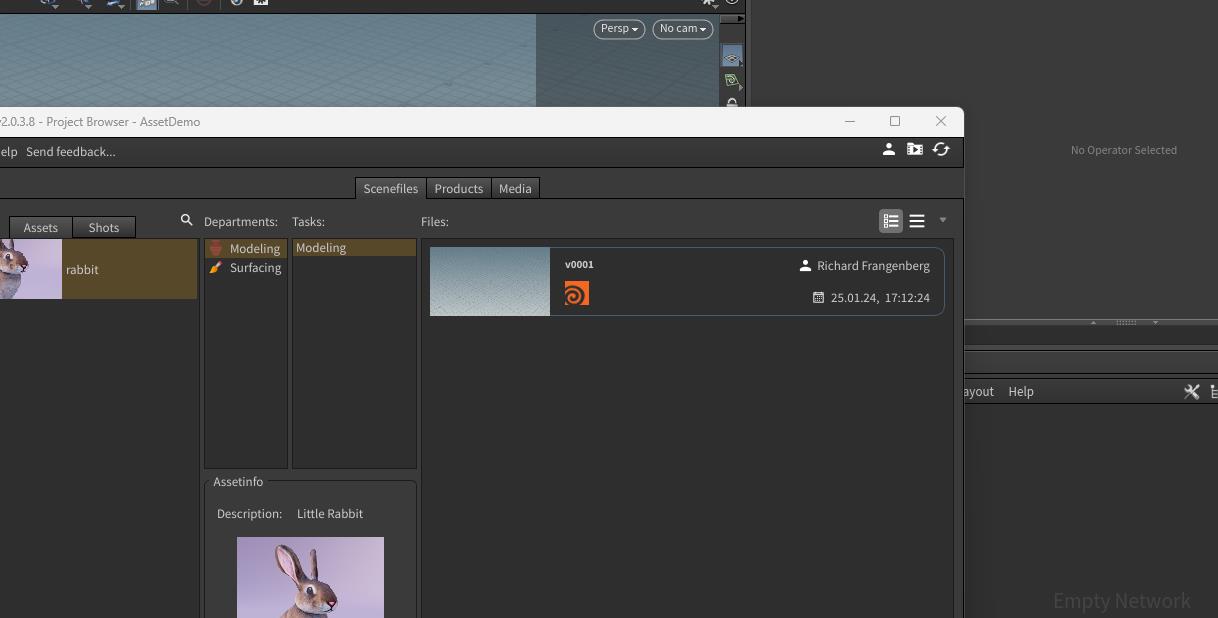
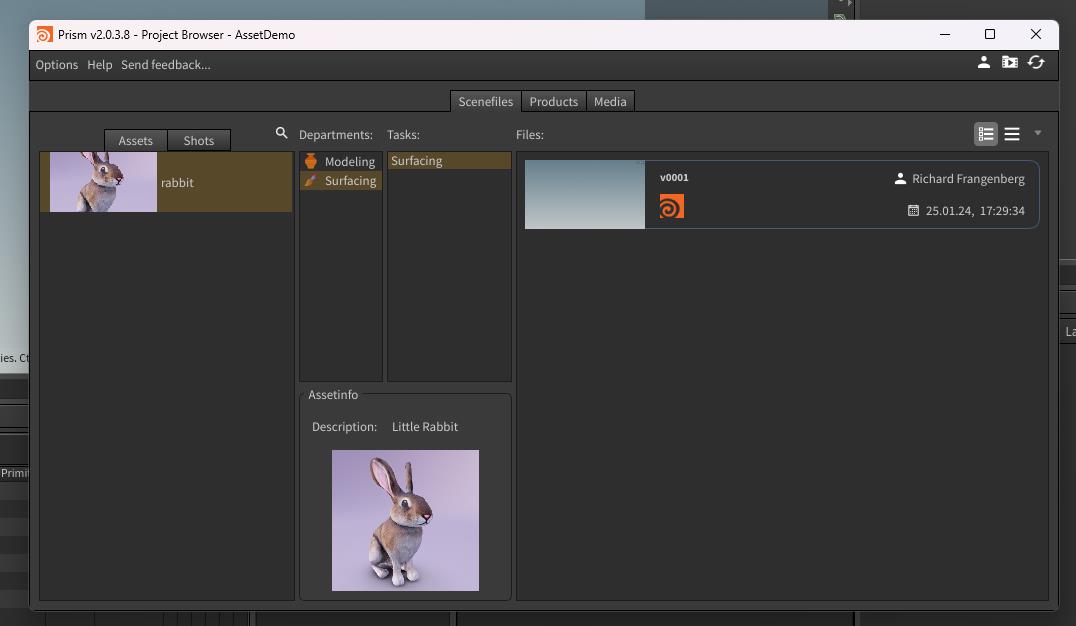
In your Prism Project Browser create a new asset and departments in the "Scenefiles" tab.
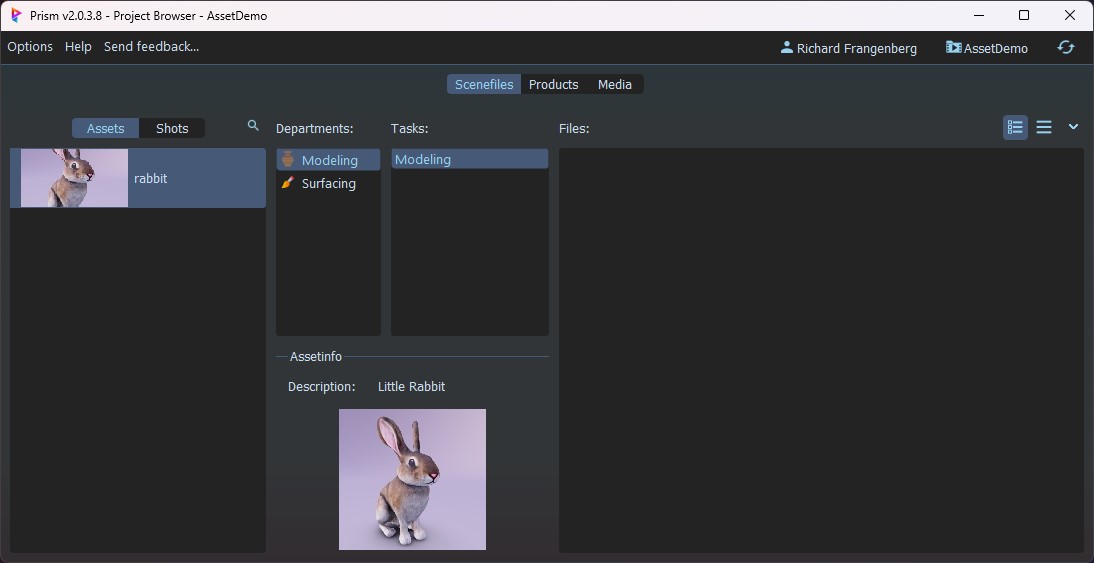
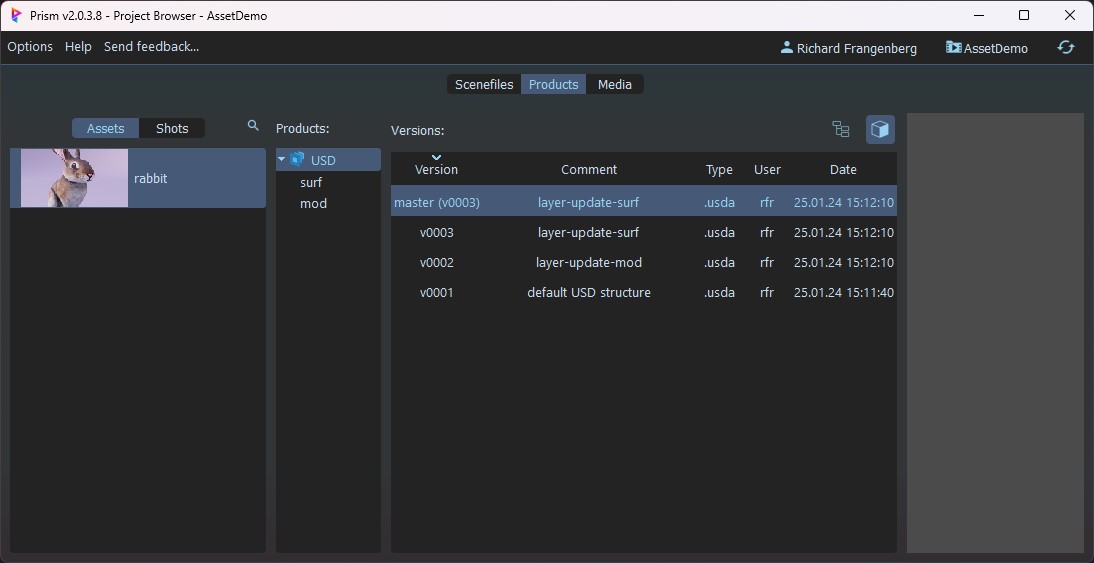
In the "Products" tab you can see that Prism automatically created a USD department layer for each department of your asset.
Note
If you don't see the department layers, make sure you have the "Create USD department layers automatically" option enabled in the Prism Project Settings -> USD.
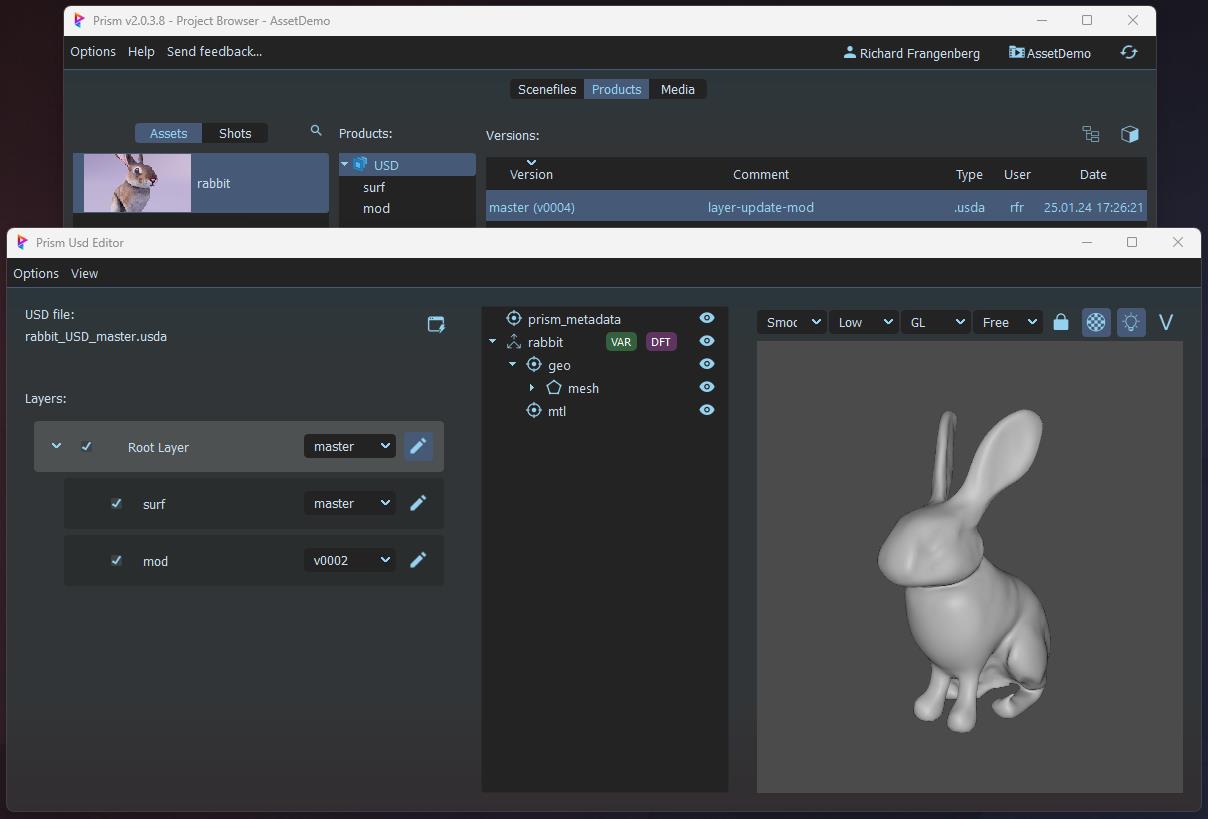
Select the latest version and press the little tree button on the right side above the version list.
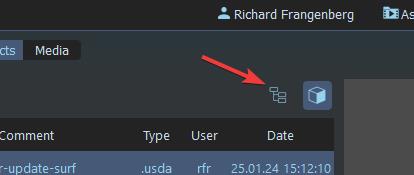
This will open the Prism USD Editor, where we can examine the content of the USD asset.
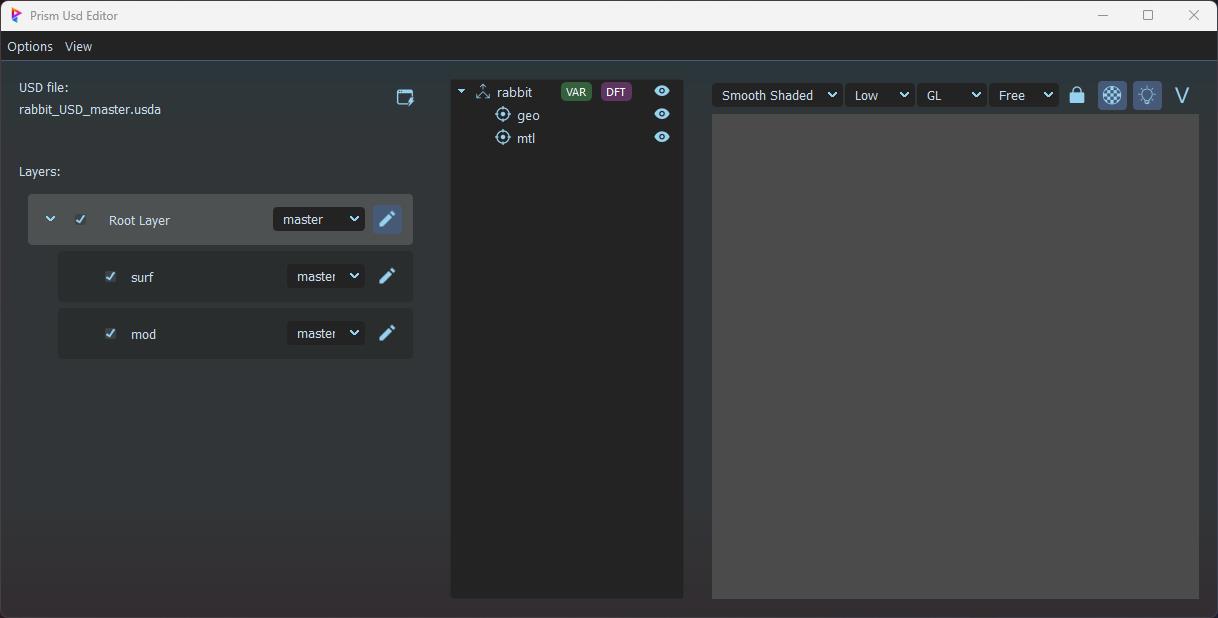
We can see our department layers and a default prim structure in the scenegraph tree, but there is no geometry or material in this asset yet.
Creating Geometry#
Open Houdini and save your scenefile in the "Modeling" department of our asset.
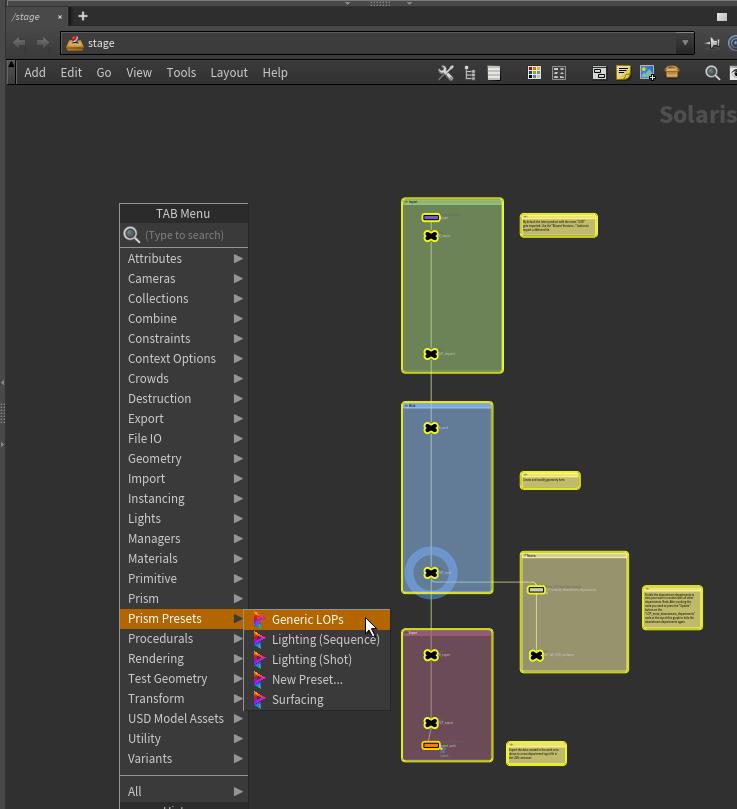
In the /stage context select from the tab menu: "Prism Presets" -> "3 Current Entity...".
A "Prism Asset Setup" window will open.
Check only the "Modeling" department and click "Create".
Note
In this example we will create separate hipfiles for each department.
It's also possible to setup and work on modeling and surfacing in the same hipfile.
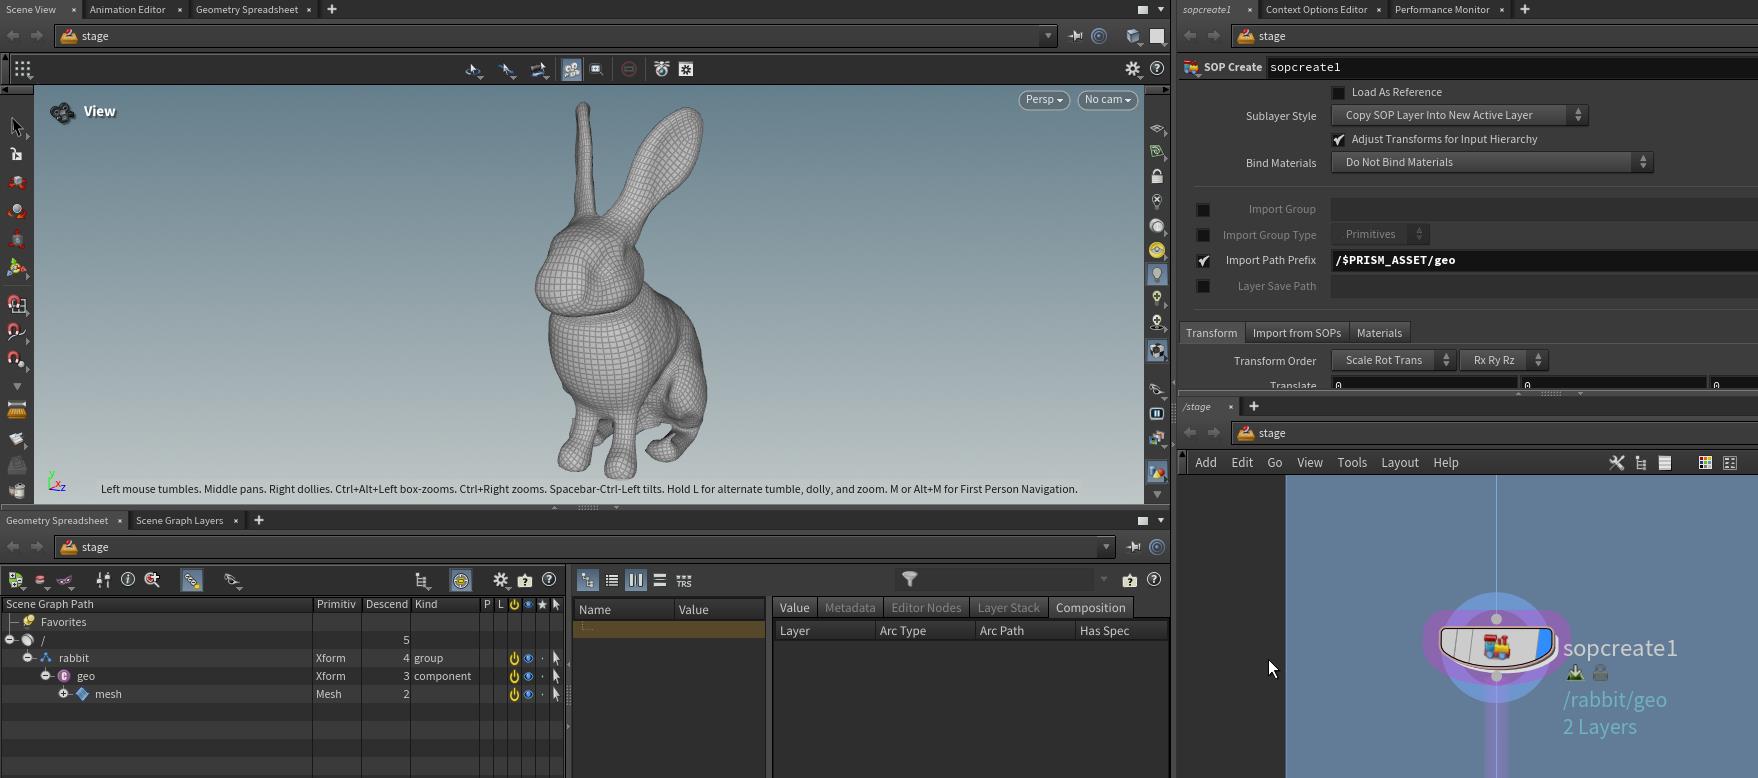
In the blue "Work" section create a "SOP Create" LOP and create your geometry inside this node.
Set the "Import Path Prefix" on the "SOP Create" node to
/$PRISM_ASSET/geoThe scenegraph should look something like this now:
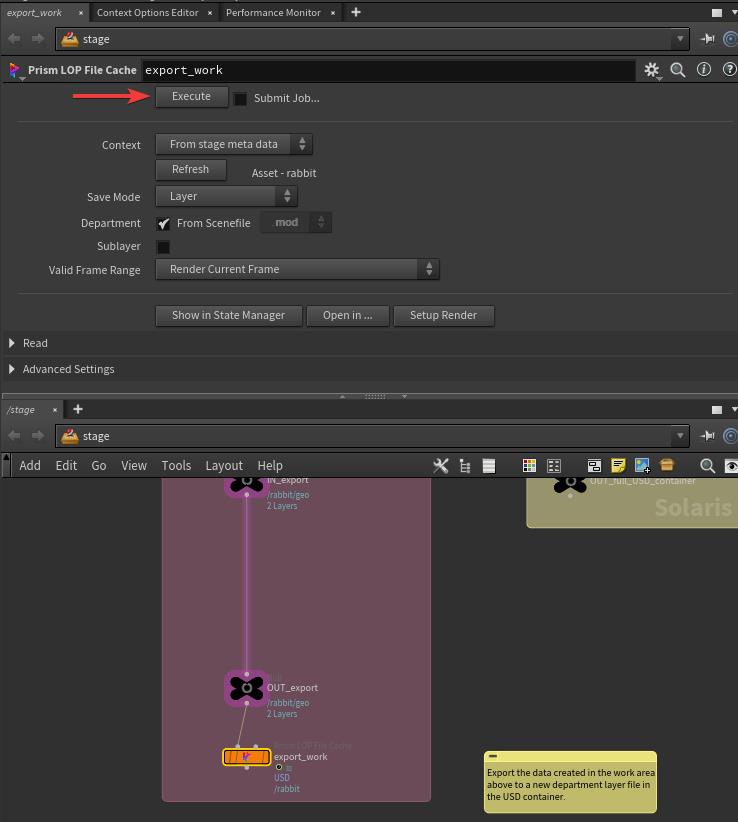
At the bottom of the nodegraph on the "Prism LOP File Cache" node, click the "Execute" button to export your geometry.
In the Prism standalone Project Browser we can now navigate to our USD asset product and open it in the Prism USD Editor.
We can see the geometry in the viewport and the hierarchy of the geometry matches the scenegraph in Houdini.
Creating Materials#
Save a new empty scene in the "Surfacing" department of our asset.
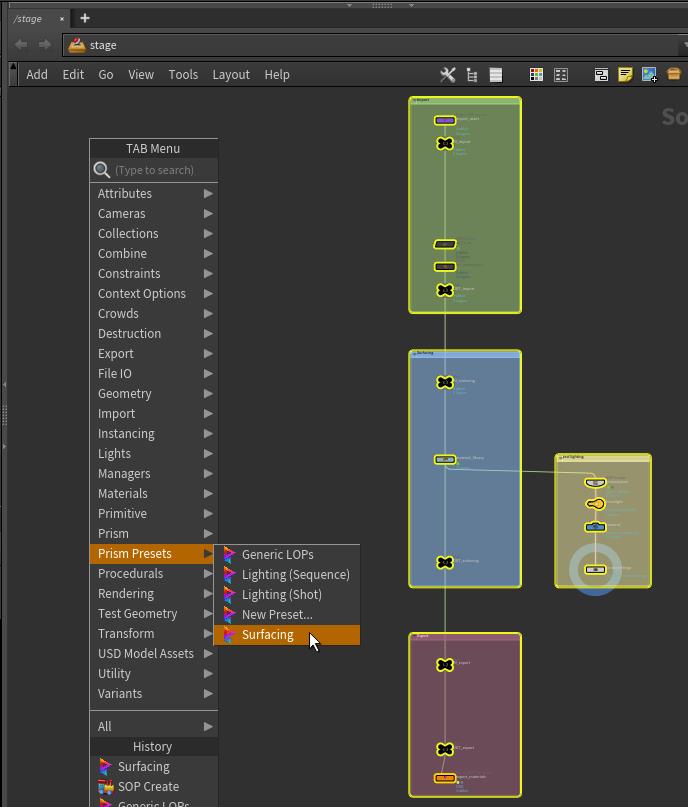
From the tab menu select "Prism Presets" -> "3 Current Entity..." again.
This time check only "Surfacing" and click "Create".
Dive into the "material_library" node (in the middle of the blue area) and create your materials here.
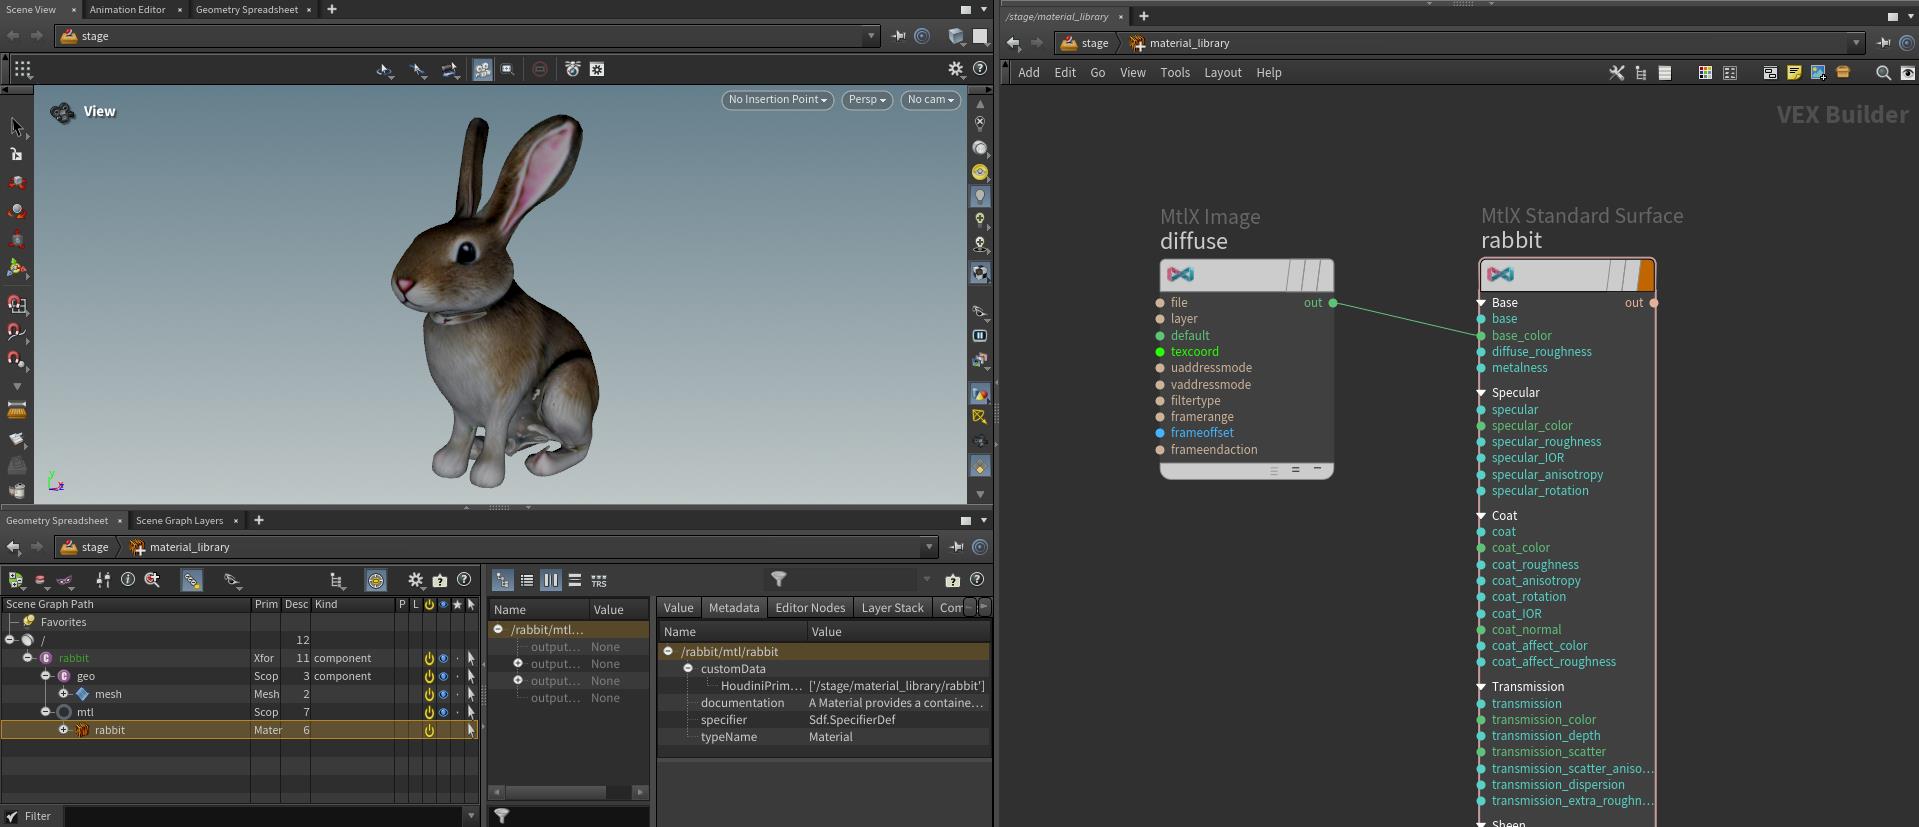
If you created multiple materials, you can assign them to the correct USD geometry prims on the "material_library" node.
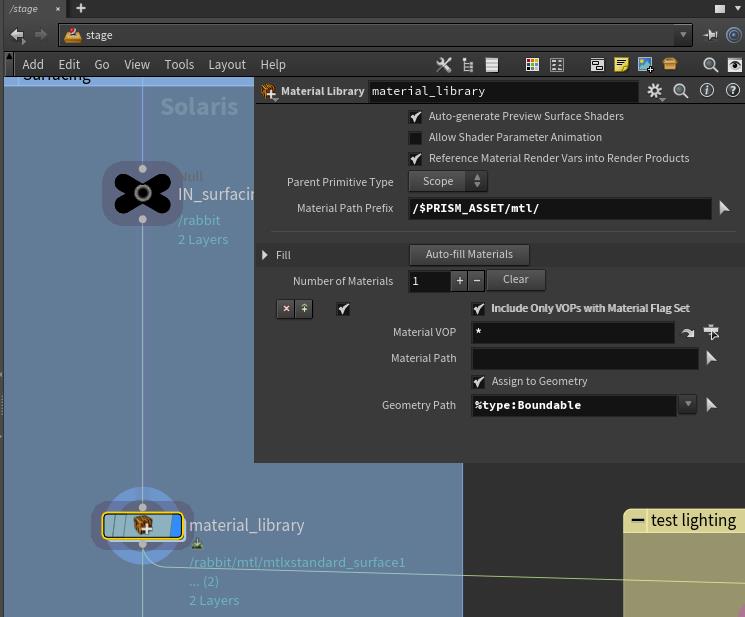
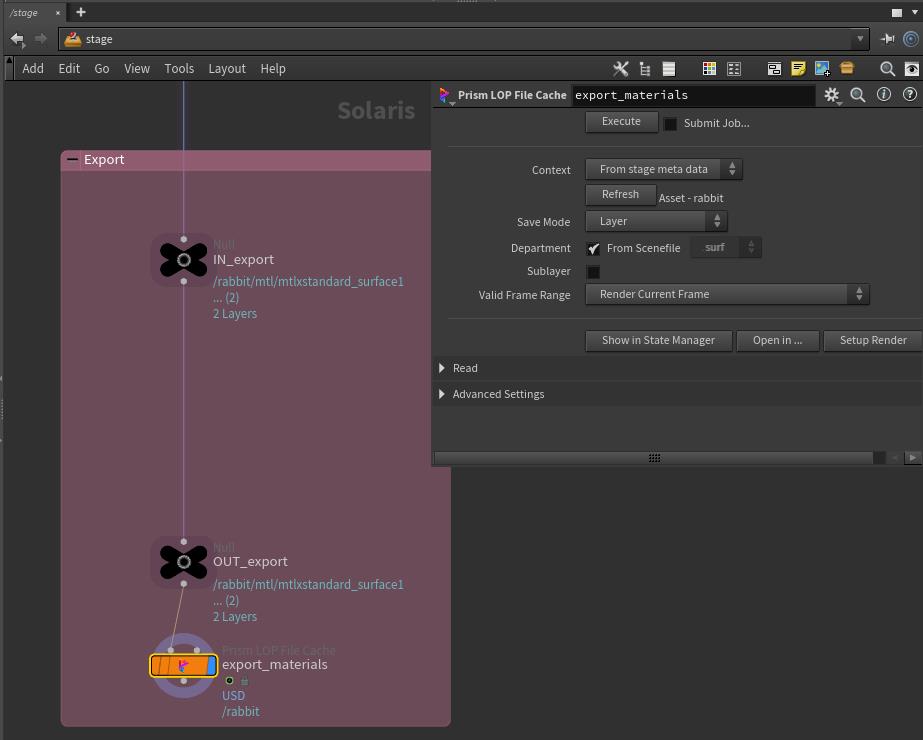
Export your surfacing layer using the orange "export_materials" node (Prism LOP File Cache) at the bottom of your nodegraph.
Back in the Prism standalone Project Browser open the latest version of our USD asset in the Prism USD Editor.
We can see our asset with applied material.
If we toggle the surfacing layer, the material on the geometry gets toggled as well.
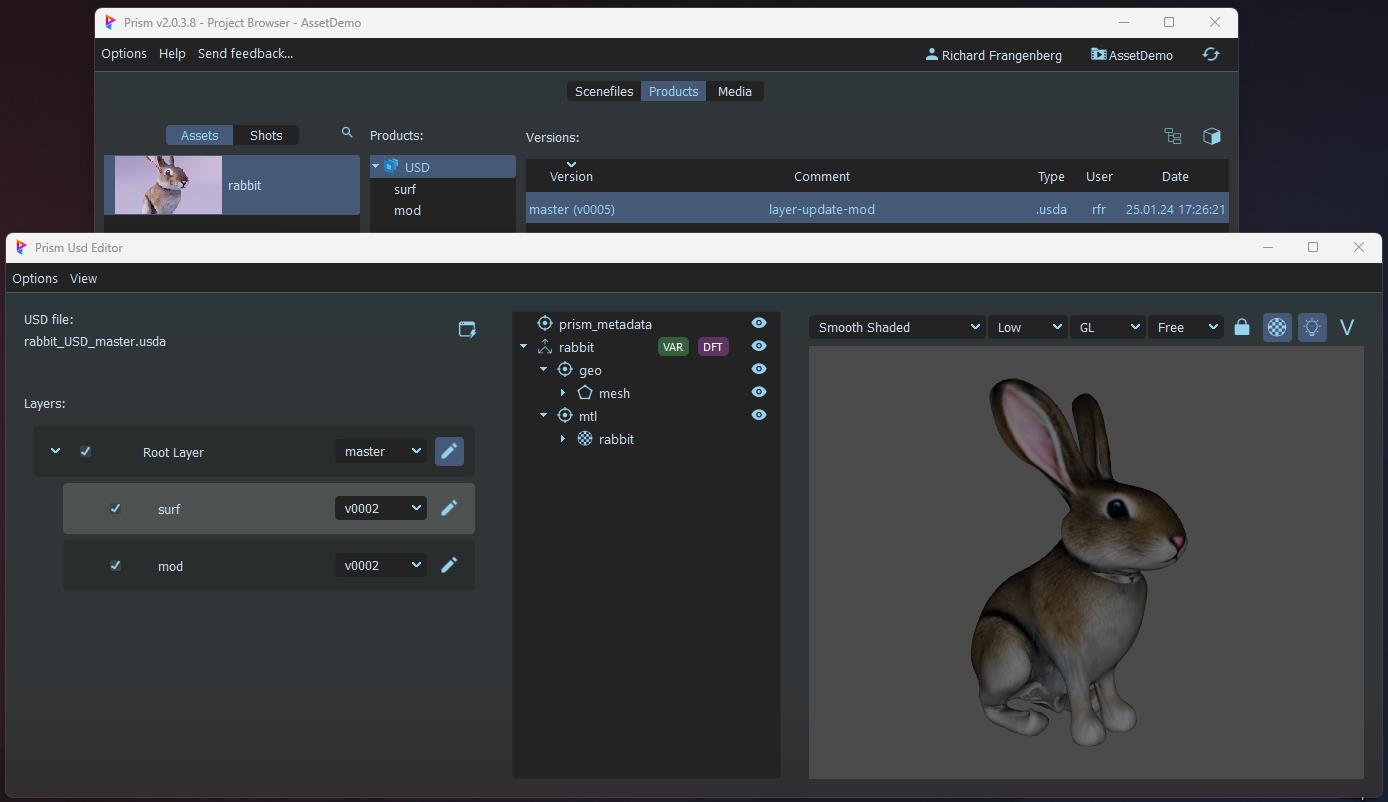
The modeling layer contains the geometry and the surfacing layer contain the materials and material assignments.
We can now continue to work on our modeling or surfacing layers or we can import our asset into a shot.
Rigs#
Houdini character rigs can't be stored in USD files at this point.
If your asset requires a character rig, it's recommended to create the rig in SOPs and publish it as a .hda file using the "Save HDA" state in the Prism State Manager.