Photoshop#
This plugin integrates Prism into Adobe Photoshop.
Setup#
The plugin can be installed from the Prism Hub. After the plugin is installed, the Prism integration needs to be added to the Photoshop installation folder. This can be done in the Prism User Settings -> “DCCs apps”.
This is the path, which should be selected for the integration: “C:Program FilesAdobeAdobe Photoshop 2023”
If you have multiple versions of Photoshop installed you can use the PRISM_PHOTOSHOP_KEY environment variable to define, with which Photoshop version Prism will communicate with.
You can check in the Windows Registry Editor under HKEY_LOCAL_MACHINE\SOFTWARE\Classes\Photoshop.Application* which keys are available on your system. The key would look like this: Photoshop.Application.170
Accessing Prism in Photoshop#
Prism is available inside Photoshop from the “Files” -> “Scripts” menu. You can also launch Photoshop from “Options” -> “Photoshop” -> “Connect” in the Prism standalone Project Browser.
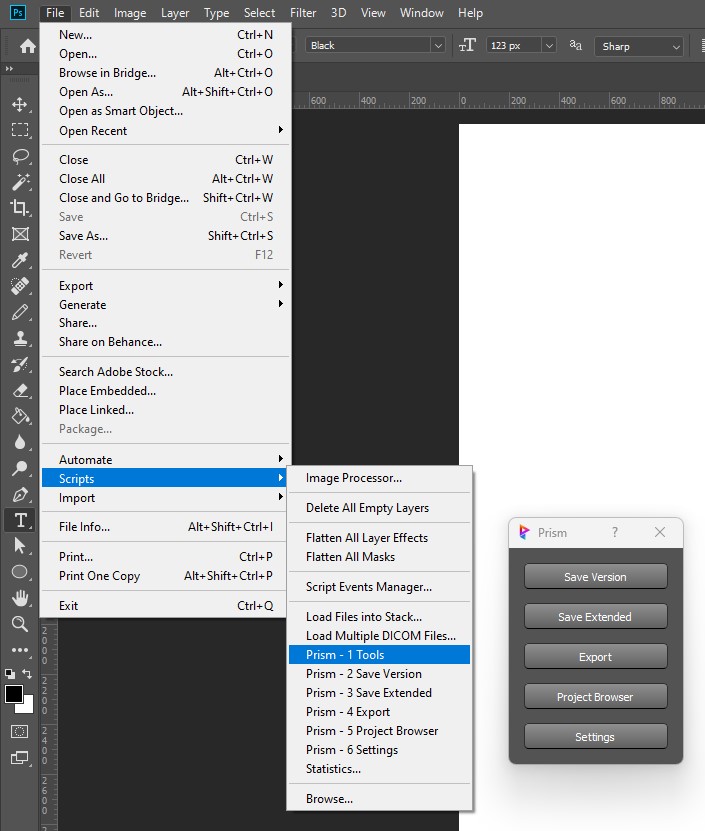
save and version up your scene
save, version up your scene and add a description/thumbnail
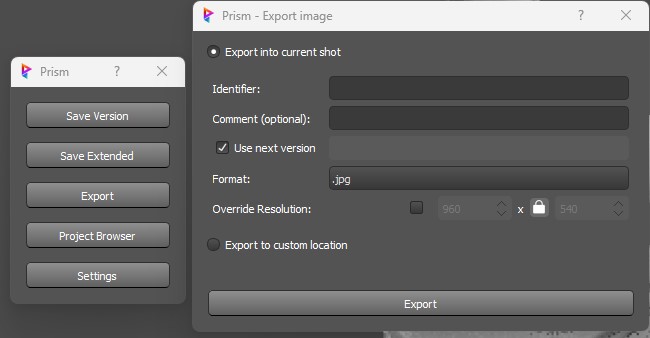
export images
open the Project Browser
open the Prism Settings
Saving Scenefiles#
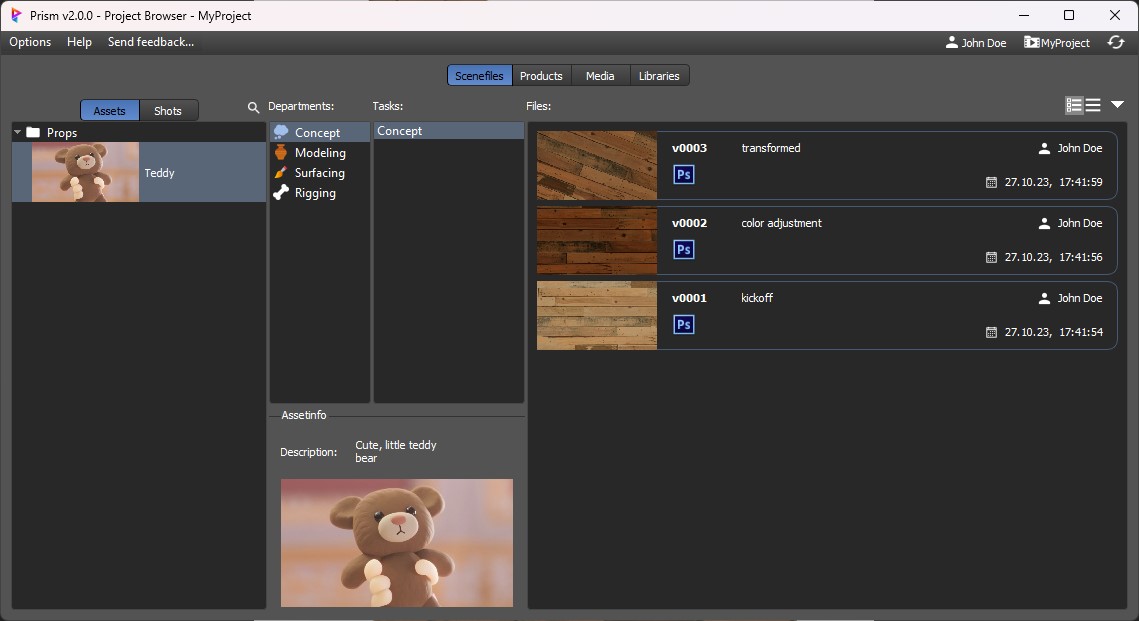
You can save new scenefile versions using the options in the Prism menu or by opening the Project Browser and selecting “Create new version from current” in the context menu in the “Scenefiles” tab.
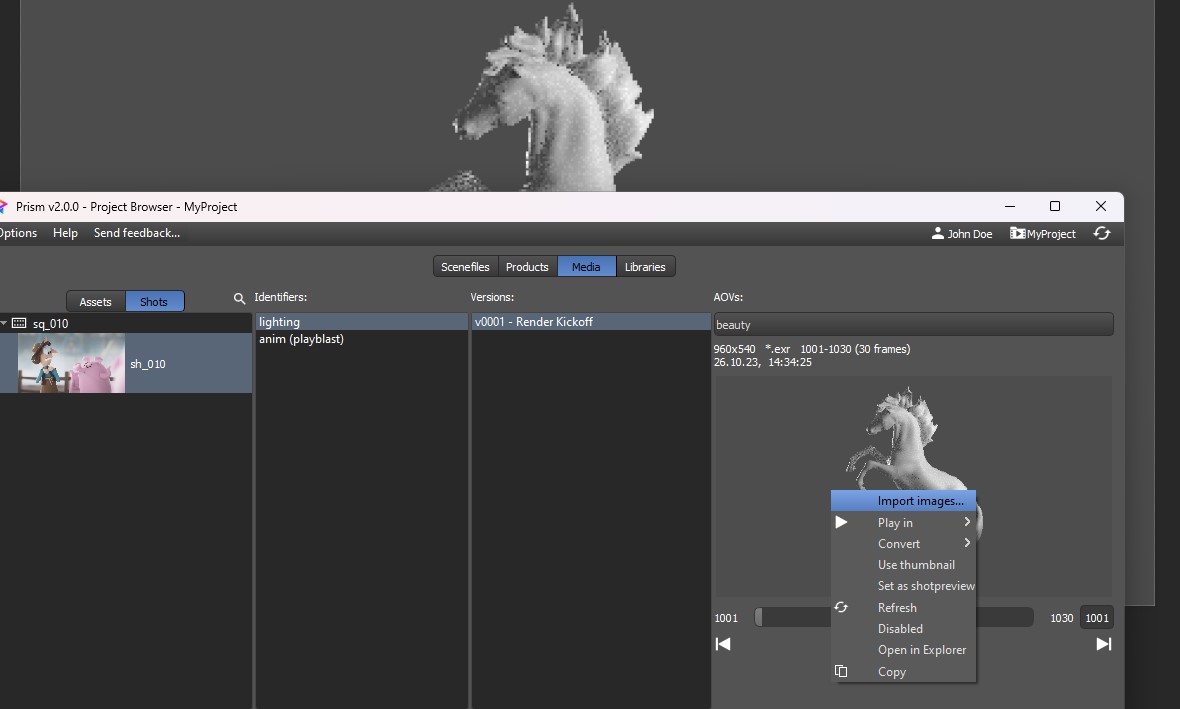
Importing Images#
Exporting Images#