PureRef#
The Prism PureRef plugin integrates the image reference tool PureRef into the Prism workflow.
Overview#
PureRef can be downloaded for free here. If you use PureRef regularly please consider to pay a fair price for it. PureRef doesn't allow plugins to integrate themself in the PureRef UI, so all the PureRef plugin features have to be accessed from the Prism Project Browser window, either standalone or in any supported DCC.
Setup#
When the PureRef plugin gets installed a popup will ask for the path to the PureRef executable. You can use the portable version of PureRef for this or install PureRef using the installer. You can change the path to the PureRef executable at any time later on in the Prism User Settings window. In the "DCC apps" tab there is a "PureRef" tab, where you can use the "Executable override" option to specify, which executable Prism will use.
Features#
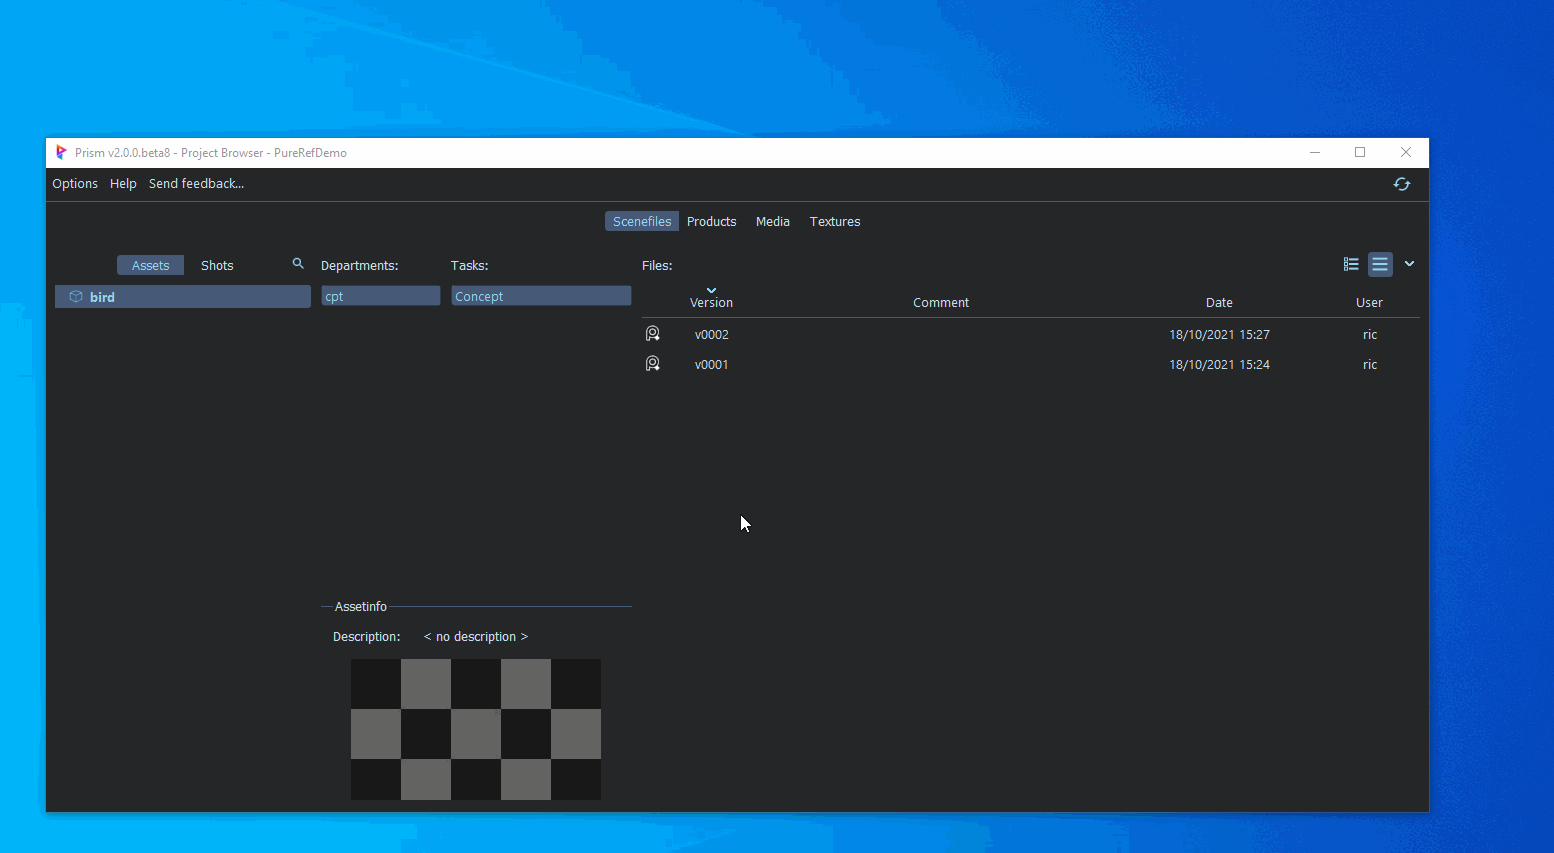
Creating a new PureRef scene#
PureRef scenes are saved in Prism like any other scenefiles. In the Prism Project Browser you can create an asset or shot, create a department and a task and then rightclick in the scenefile list. A menu opens and you can select "Create new version from preset" -> "EmptyScene PureRef". A new item will appear in the list. You can edit the comment from the rightclick menu and open the scene in PureRef by double clicking it. In PureRef press ctrl + s to save your scene.
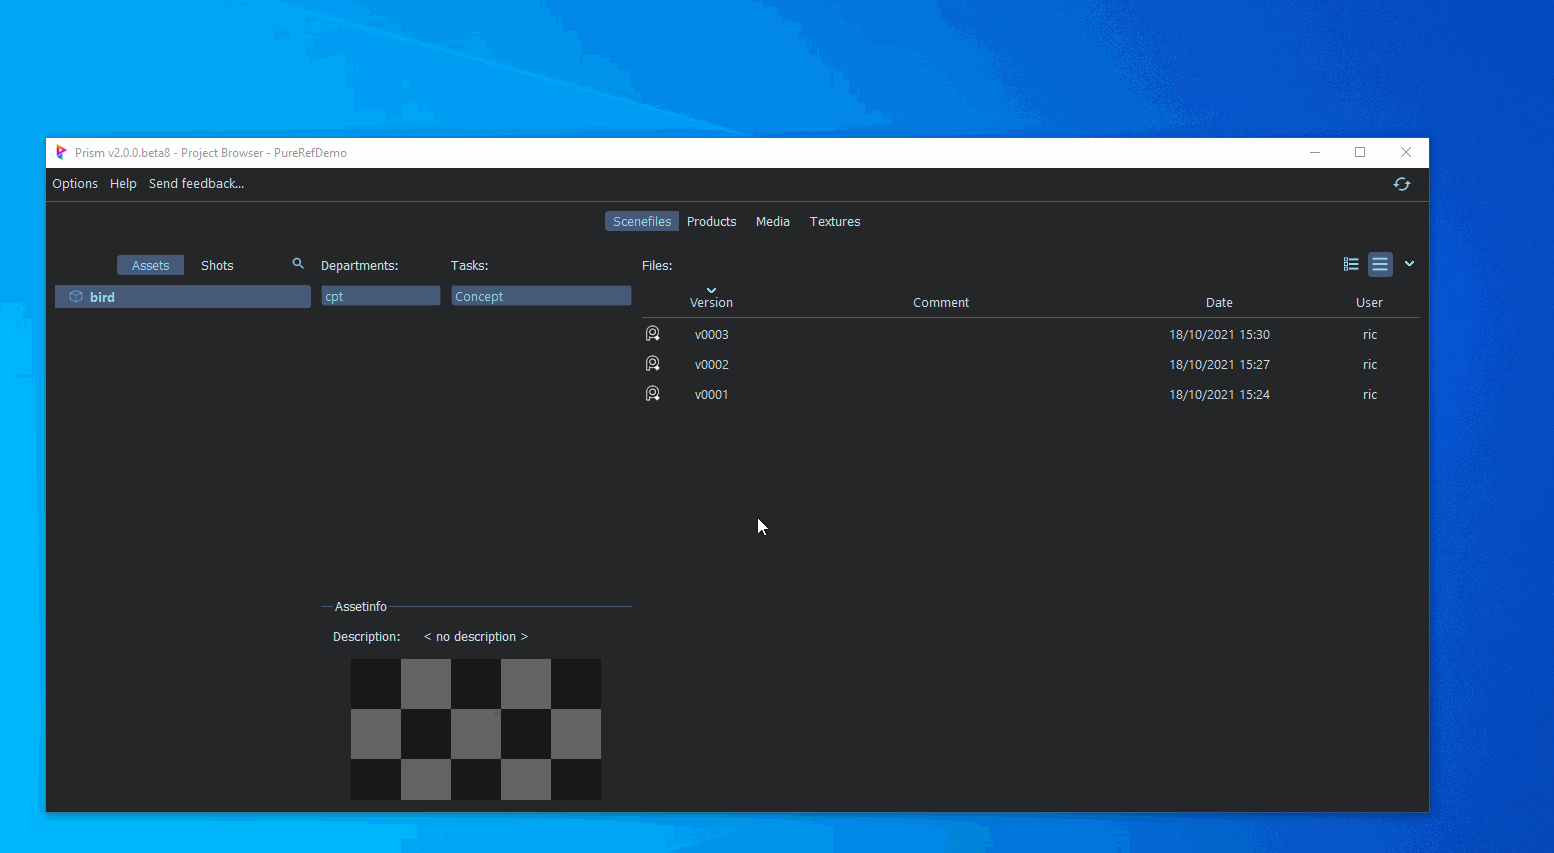
Saving a new version of a PureRef scene#
There are two ways how you can save a new version of a PureRef scene:
After you made changes to an existing scene - If you have PureRef open and modified an existing scene you might want to save you changes to a new version instead of overwriting the existing version. To do that you can open the standalone Prism Project Browser and rightclick in the scenefile list und the asset/shot where you want to save your PureRef scene. From the rightclick menu select "Copy path for next version". This will copy a filepath to your clipboard. In PureRef press ctrl + shift + s (Save as...) and then ctrl + v to paste the path from your clipboard. Now press "Save" and in the Prism Project Browser press the refresh button in the top right corner. You will see a new version of your PureRef scene in the scenefiles list.
Before you made changes to an existing scene - Rightclick an existing PureRef scene version in the Project Browser and select "Copy". Rightclick again and select "Paste as new version". This will copy the existing version and save it with an incremented version. Then you can double click the new version to open it in PureRef, modify the scene and use ctrl + s to save your changes to the new version.
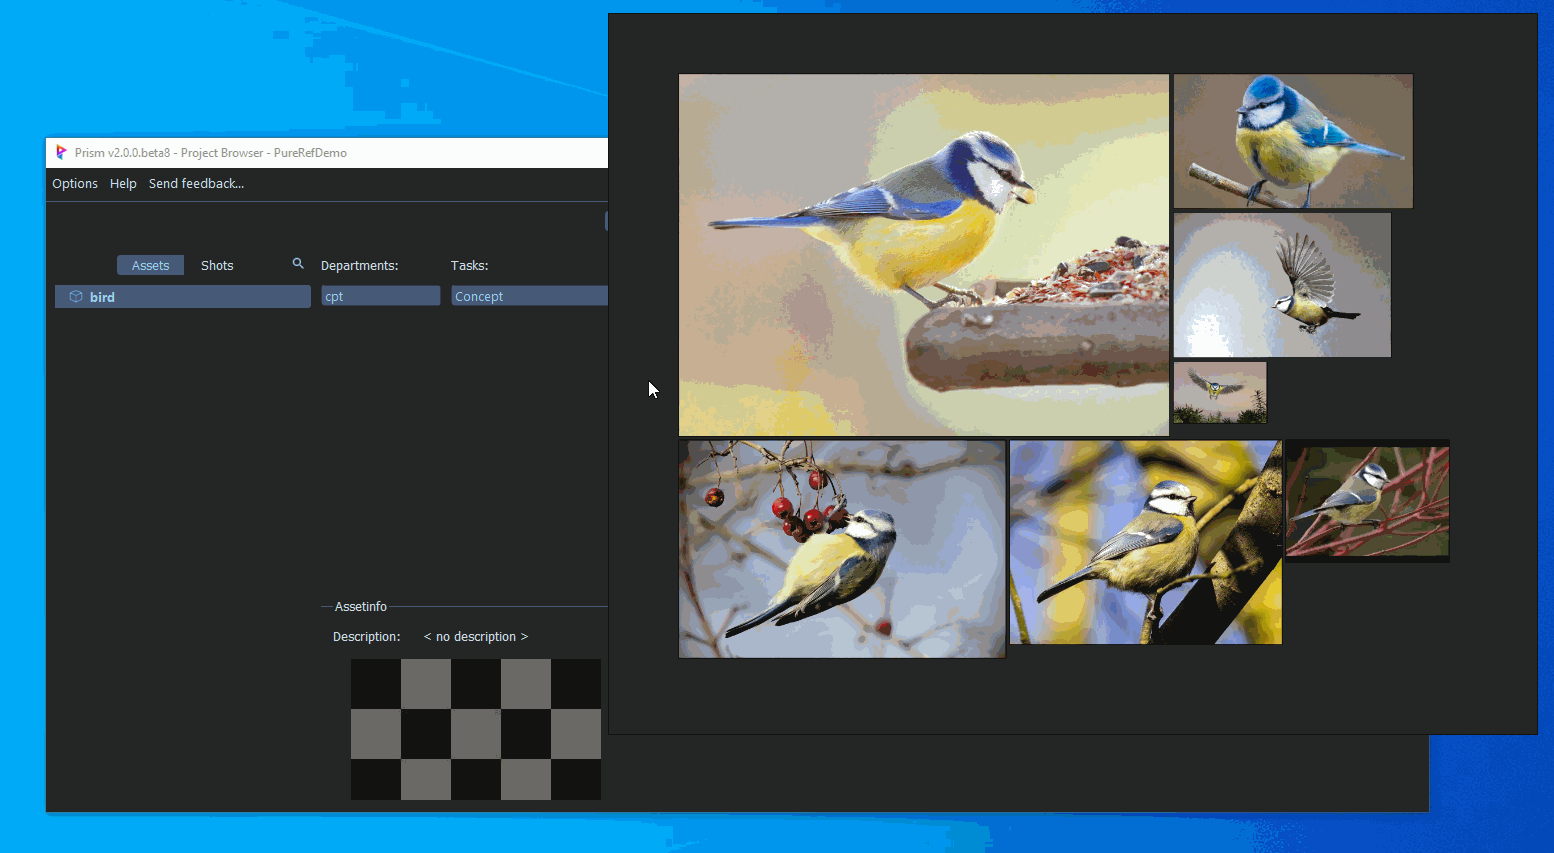
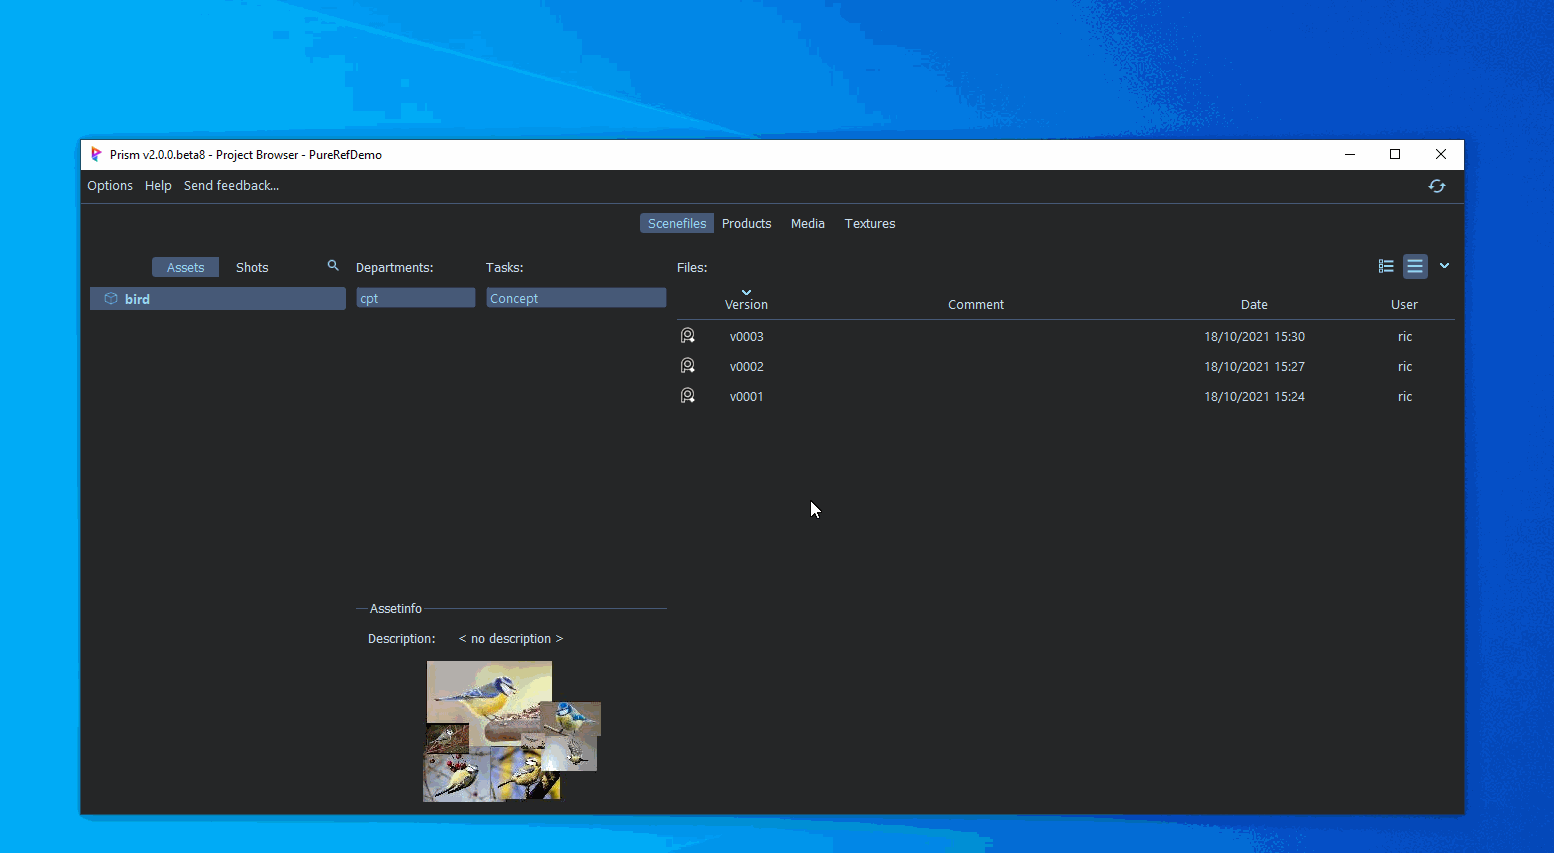
Setting the asset/shot preview#
You can set the canvas of a PureRef scene as the asset/shot preview in Prism. To do that the PureRef scene has to be saved under an asset/shot in Prism. In the Project Browser in the scenefile version list rightclick the PureRef scene, which you want to use. Select "PureRef" -> "Set as asset/shot preview". An image will be exported from the PureRef scene and set to the preview image, which you can see in the info panel in the "Scenefiles" tab of the Project Browser.
Exporting an image from a PureRef scene#
If you want to use the content of a PureRef scene in another tool, for example in the 3d viewport of your 3d application, then you have to export your canvas as an image. To do this you can rightclick the PureRef scene in the scenefile version list in the Project Browser. Select "PureRef" -> "Export..."
In the window that opens you can choose under which asset/shot the image will be saved. You also have to set an "Identifier", which is a name to differentiate the exported image from any other images that will be created under the select asset/shot. A common identifier in this case would be "references" or "mood board". The comment field is optional.
After the image got exported you can view it in the Media tab in the Project Browser. From here you can drag the preview to any other tool on your computer or double click it to open it in your configured image player.
Ingesting external images into the Prism project#
If you have some images, which you want to save in the Prism project folder you can do that by dragging them from the Windows Explorer into the "Identifiers" list in the Media tab of the Project Browser. A dialog will open, which allows you to bring the images into your project. After the images are ingested you can see them in a preview at the right side of the Project Browser. Using the slider you can scrub through all the images. You can rightclick the preview and select "Open in PureRef...". This will open PureRef and layout all the images for you. Now you can save the PureRef scene using the first method of saving your scene mentioned above.