USD#
Universal Scene Description is a framework to manage data in CG productions.
Overview#
USD was originally developed by Pixar and is used in many big animation and visual effects studios. It allows to manage huge amount of data very efficiently. USD can store geometry, materials, cameras, lights and more in an universal format, which can be exchanged between many modern DCCs. This makes USD a great addition to Prism.
To use Universal Scene Description in Prism you need to install and load the Prism USD plugin. You can install the plugin during the Prism installation setup or at any point later on from the Prism Hub. You can open the Prism Hub from the first page in the Prism Settings dialog.
For a detailed explanation of the USD workflow have a look at this presentation:
USD in the Project Browser#

USD in DCCs#
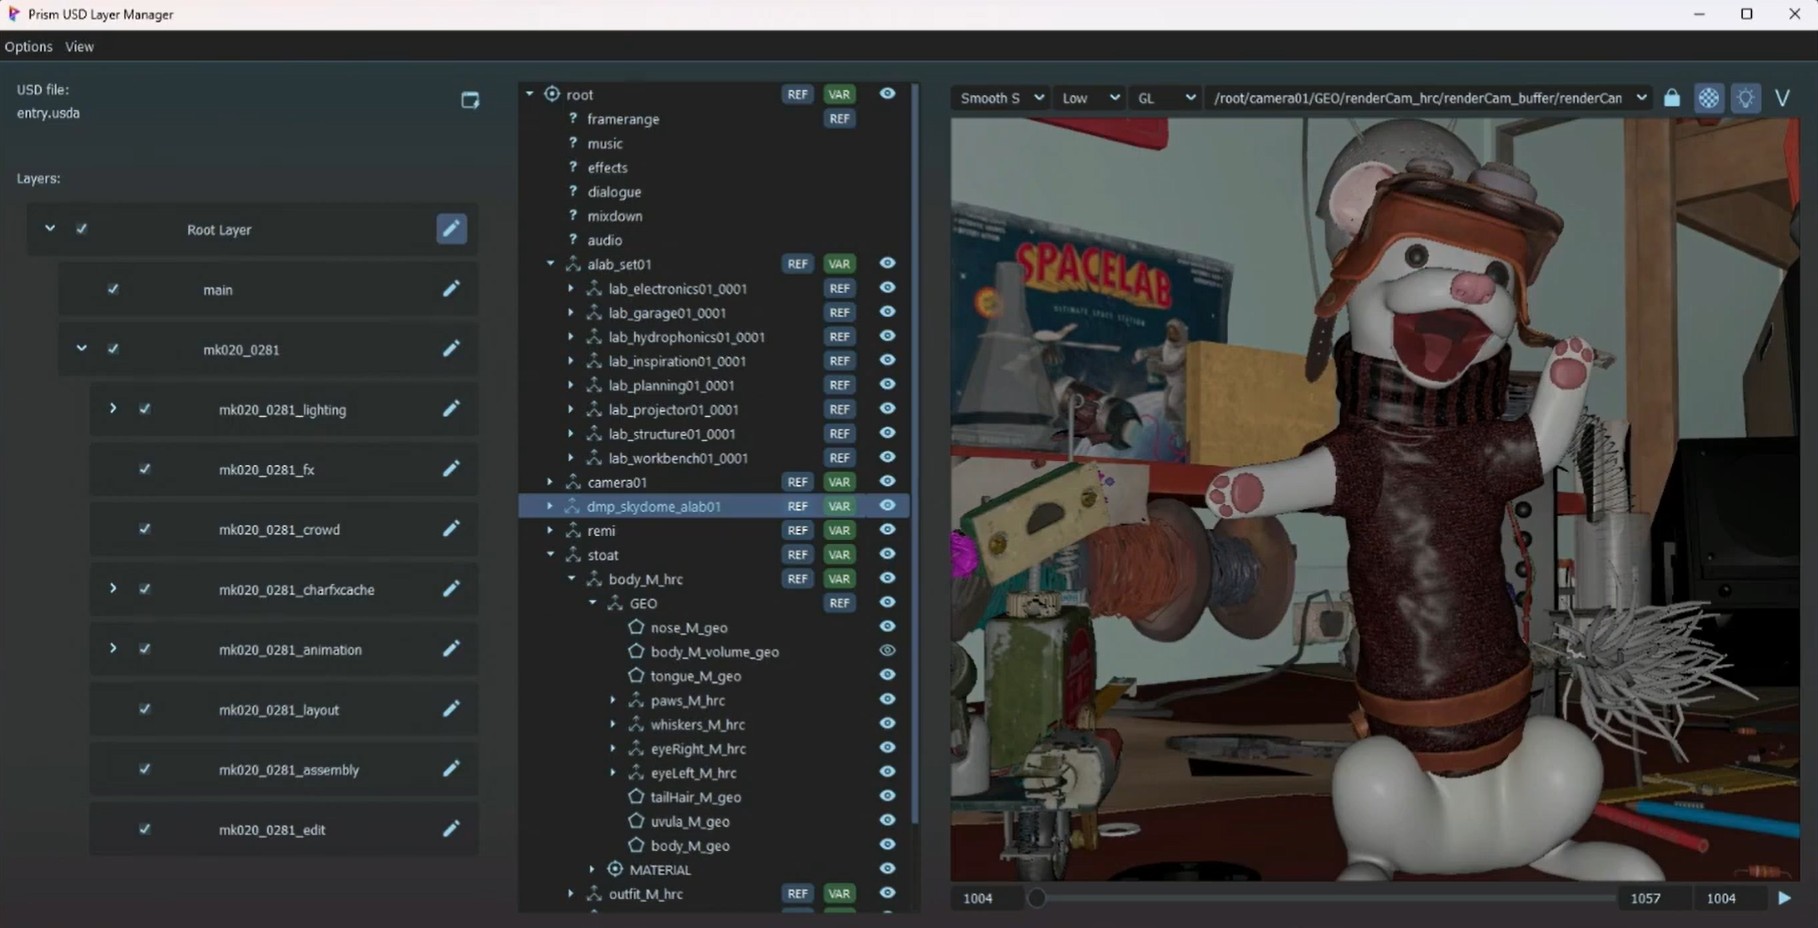
Prism USD Editor#
User Settings#

- USD render executable (Husk)#
- This path specifies, which executable to use when rendering USD files.It should point to the
bin/husk.exeof an Houdini installation.Prism will use this executable when rendering USD files from the Project Browser or when submitting USD render jobs from Houdini with specific submission settings.See here for more details. - Hython executable#
- This path specifies, which hython executable to use the opening an USD viewport from Prism outside of Houdini, which runs in an Houdini environment.This viewport can be opened using the "Open in Houdini viewport" option in the context menu of the USD viewport in Project Browser and the Prism USD Editor.
- QuiltiX root#
- This path specifies the root folder of QuiltiX.If this is set, additional options to open MaterialX files in QuiltiX will become available in the Project Browser.
- Loki root#
- This path specifies the root folder of ShapeFX Loki .If this is set, additional options to open USD files in Loki will become available in the Project Browser.
- Show USD viewport in Products tab by default#
- This option controls if the USD viewport will be visible when the Project Browser opens.Disabling this option can improve the startup time.If disabled, the visibility of the viewport can still be toggled using the viewport button in the "Products" tab in the Project Browser.
- Create Maya Usd Shelf Tools#
- When this option is enabled, Prism will add two additional shelf tools to the Prism shelf in Maya.See here for more details.
- Hydra Delegate: Arnold#
- Enables the Arnold Hydra delegate in the USD viewports in Prism.The path to the Arnold SDK must be specified.See here for more details.
Project Settings#

- Create USD container product on entity creation#
- If this option is enabled, a
USDproduct will be created automatically when an asset or shot gets created.Note
When the Prism project is connected to Shotgrid/ftrack/Kitsu, Prism doesn't get notified when new assets and shots get created and therefore the USD container won't get created automatically.Use theCreate Asset-/Shot-Foldersbutton in the Project Management category of the Project Settings to trigger the USD container creation in these projects. - Create USD department layers automatically#
- If this option is enabled, a USD department layer will be created when a department gets created for an asset or shot.This department layer gets sublayered into the entity USD container automatically and can be viewed in the Products tab in the Product Browser.
- Use relative paths#
- This option enables relative paths instead of absolute paths, when layering or referencing USD files into other USD files.
- Sublayer versions in USD master files#
- When product master versions are enabled in the Project Settings, each product can have a master version, which is usually a renamed copy of the latest numbered version.If this option is enabled, Prism will not create a copy of the numbered version when updating a master version, instead a .usda file gets created as the master version, which sublayers the numbered version.This has two advantages.1. The master file is very lightweight and therefore saves spaces and is fast to create.2. While .usdc files get locked, when accessed by other processes and can't get updated to newer versions while locked, .usda files don't have this problem. Updating .usda master files is always possible,Therefore it's highly recommended to enable this option when using master versions.
- Automatically update USD layer versions in entity/departmentlayer USD files#
- When enabled, after publishing a new version of a department layer, Prism will automatically update the entity USD container and replace the old version of the department layer with the new version.The same applies to updating department layers when a sublayer gets published.If master product versions are enabled in the project settings, Prism will not create a new version of the entity USD container, because it expects that the master version of the departmentlayer is layered in the entity USD container and therefore no filepath needs to get updated in the entity USD container when a new departmentlayer version gets created.
- Layer Order#
- This list defines the order of layers, which Prism will use when layering usd files in other usd files.This applies to departmentlayers as well as sublayers.Layernames at the top of the list will be layered on top of layernames at the bottom of the list.Similar to layers in Photoshop.This means that downstream departments need to be ordered on top of the upstream departments.Layernames can be rearranged using drag&drop.In the context menu there are options available to add and remove layernames.
- Available Renderer#
- This list defines, which renderers are available in the
Rendererdropdown in the Prism Render Window, when rightclicking a USD file in Prism and selecting USD -> Render.The rendering will be performed using the Houdini husk executable.Therefore this list should contain the renderers, which are available in your Houdini environment. - Available Playblast Renderer#
- This list defines, which renderers are available in the
Rendererdropdown in the Prism Render Window, when rightclicking a USD file in Prism and selecting USD -> Playblast.
Referencing external alembic files into USD files#
Hydra Delegates#
GL (Storm)#
Arnold#
Note
Prism 2.0.15 and later requires "Arnold SDK 7.3.6.1 for Windows". Earlier versions of Prism require "Arnold SDK 7.2.5.2 for Windows".
QuiltiX#
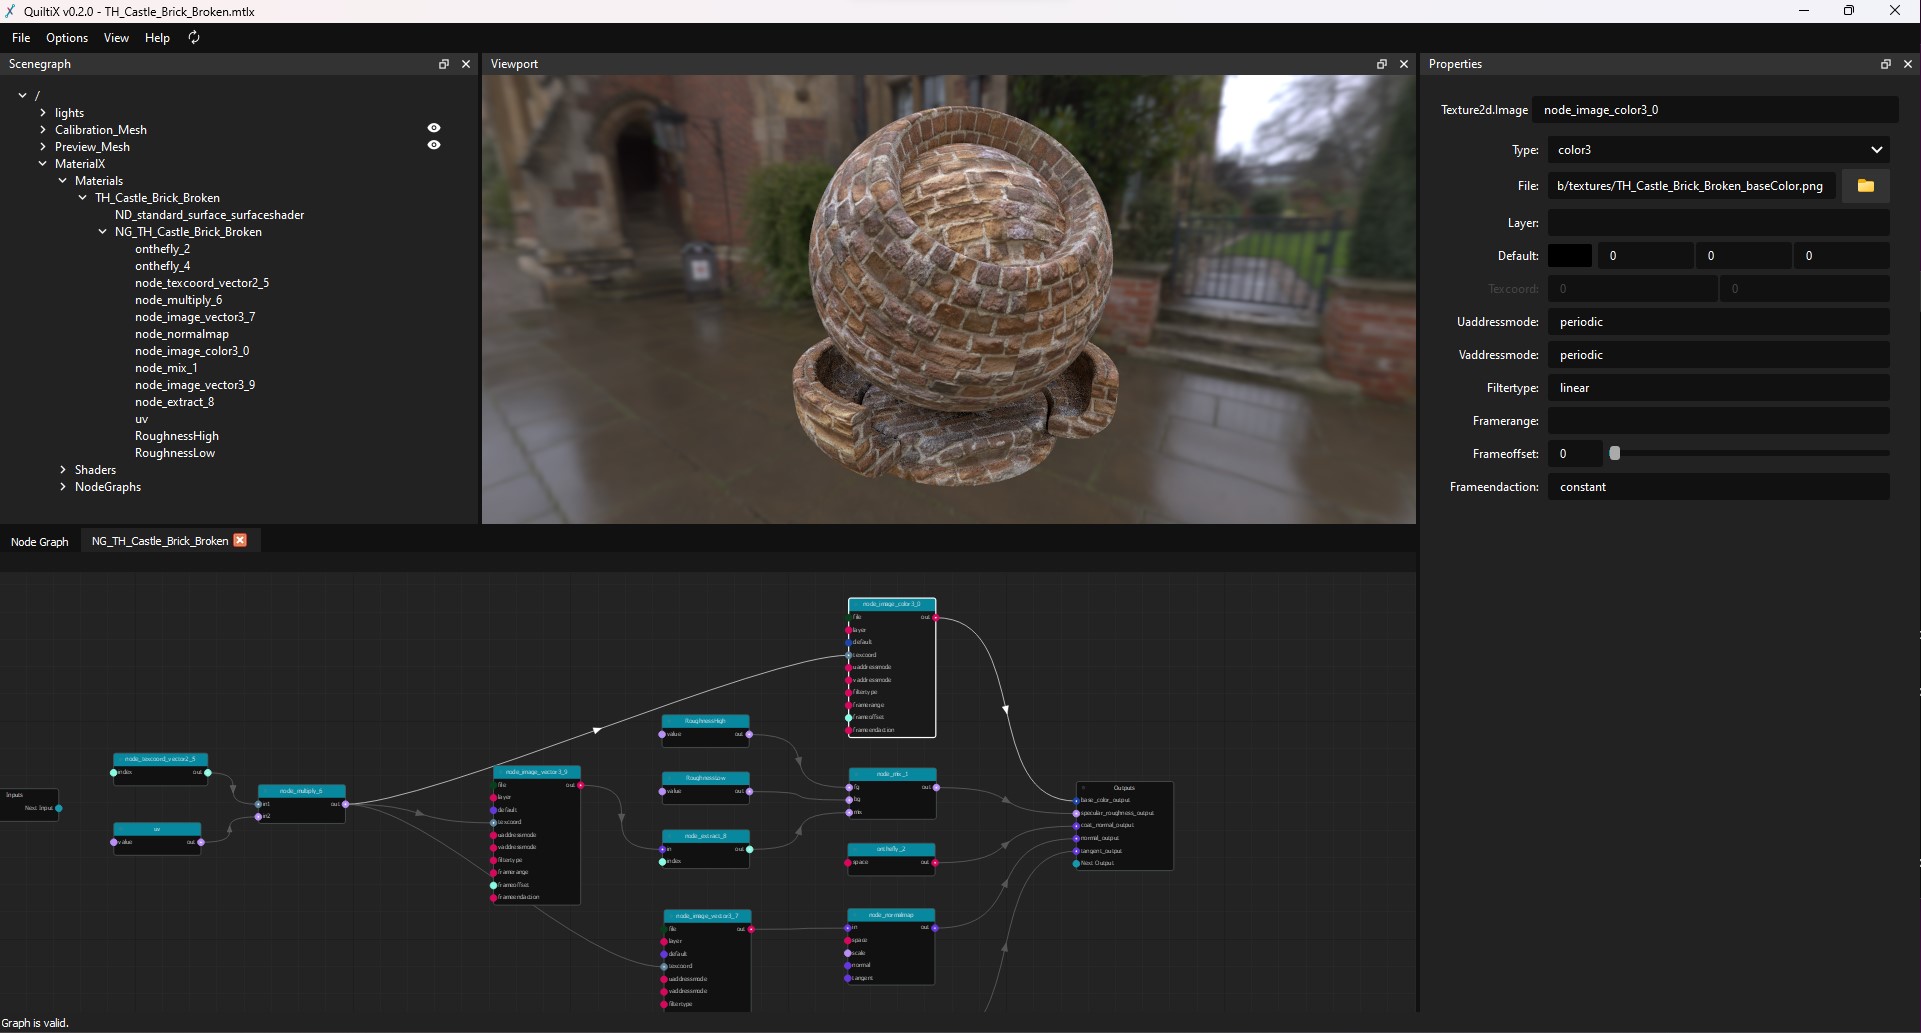
If you have the "Texture Library" plugin installed you can rightclick any .mtlx files in the libraries and select "Open in QuiltiX..." from the context menu. This is especially useful when you have the "GPU Open" material library enabled in your project settings, which allows you to download free MaterialX files.
In the Prism Usd Editor you can rightclick any MaterialX layers in your Usd layerstack and select "Edit in QuiltiX..." to open the MaterialX file in QuiltiX and also load the Usd stage including geometry into the QuiltiX viewport.
The scenegraph and the viewport widget are replaced with the Prism scenegraph/viewport widgets. This allows you to modify the scenegraph hirarchy and use additional controls in the viewport. The viewport toolbar can be opened using the shortcut "x".
A new Prism menu in the QuiltiX menu bar allows you to save you material as a new version. This requires that the .mtlx file is saved as a product in your Prism project. You can rightclick a .mtlx file layer in the Prism Usd Editor and select "Copy material to entity context" to save a material from a custom location as a product in Prism.
In the "View" menu you can find a new "Libraries" option, which integrates the Prism libraries into QuiltiX. From here you can drag&drop HDRIs, textures and materials from your library into QuiltiX. You can also save your material into a library by rightclicking in an empty area of any of your libraries and select "Save current nodegraph...".
ShapeFX Loki#

USD workflow examples#
Guides#
Example Projects#
Houdini USD example project
This example shows a basic setup of a USD asset with materials and a simple animation and lighting in a shot. Download