3ds Max#
This plugin integrates Prism into Autodesk 3ds Max.
Supported 3ds Max versions: 2021+ (Python 3)
Setup#
The plugin can be installed from the Prism Hub.
After the plugin is installed, the Prism integration needs to be added to the 3ds Max preferences folder.
This can be done in the Prism User Settings -> "DCCs apps".
This is the path, which should be selected for the integration (with different version numbers possible):
%LOCALAPPDATA%\Autodesk\3dsMax\2027 - 64bitThe plugin is available on Windows only.
Accessing Prism in 3ds Max#
Prism is available inside 3ds Max from the "Prism" menu in the main menu bar.
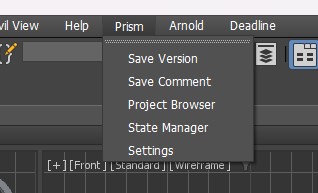
The menu contains options to:
save and version up your scene
save, version up your scene and add a description/thumbnail
open the Project Browser
open the State Manager to import/export files
open the Prism Settings
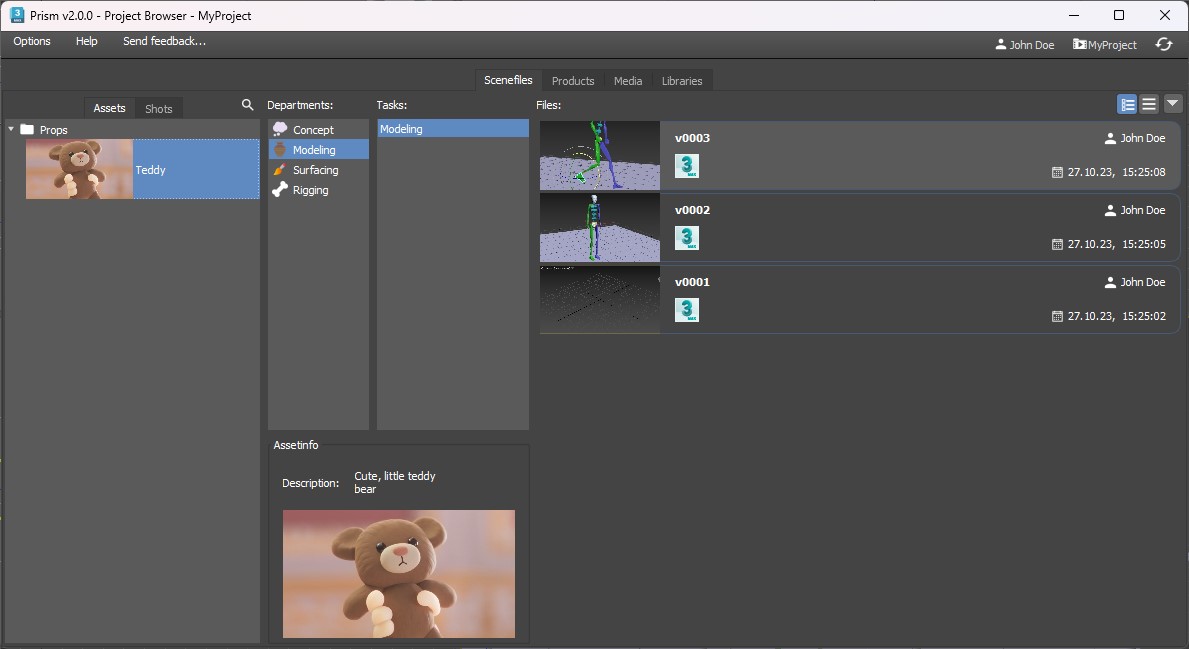
Saving Scenefiles#
You can save new scenefile versions using the options in the Prism menu or by opening the Project Browser and selecting "Create new version from current" in the context menu in the "Scenefiles" tab.
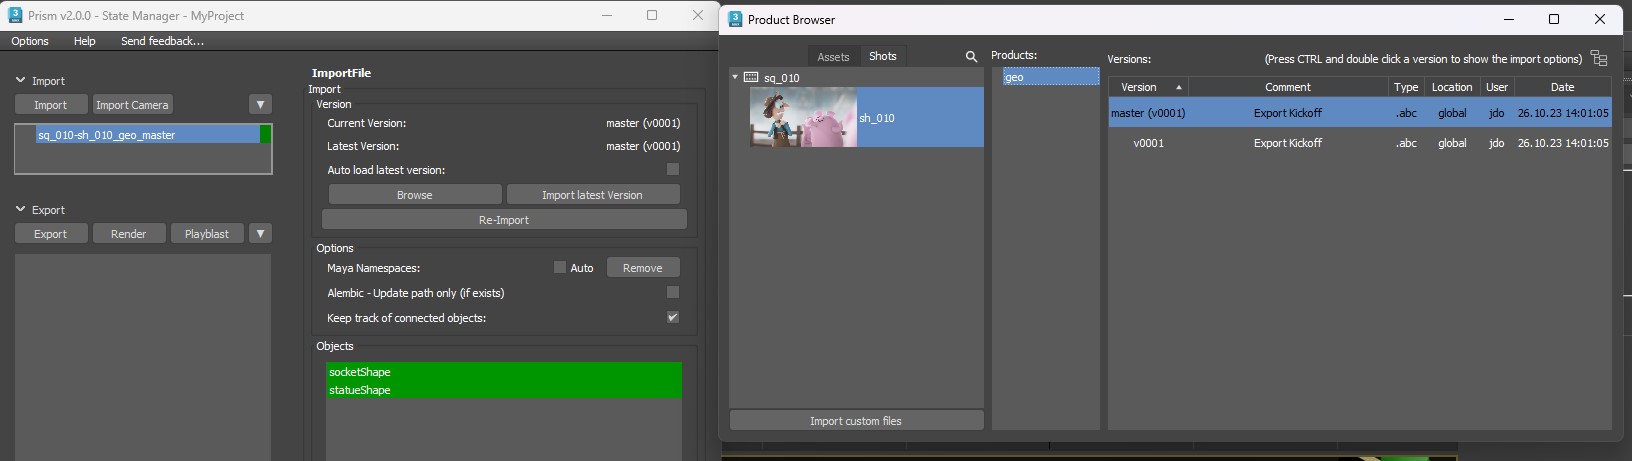
Importing Objects#
To import objects from your Prism project into 3ds Max you can open the State Manager from the Prism menu, expand the "Import" section and click the "Import" button.
The Product Browser will open where you can select and import a product version by double clicking it.
Alternatively you can also rightclick a product version in the Project Browser and select "Import".
Exporting Objects#
To export objects from 3ds Max into your Prism project you can open the State Manager from the Prism menu and click the "Export" button in the "Export" section.
This will create an export state where you can set your export settings and define which objects to export.
You can then use the "Publish" button at the bottom of the State Manager to execute the state and export your objects.
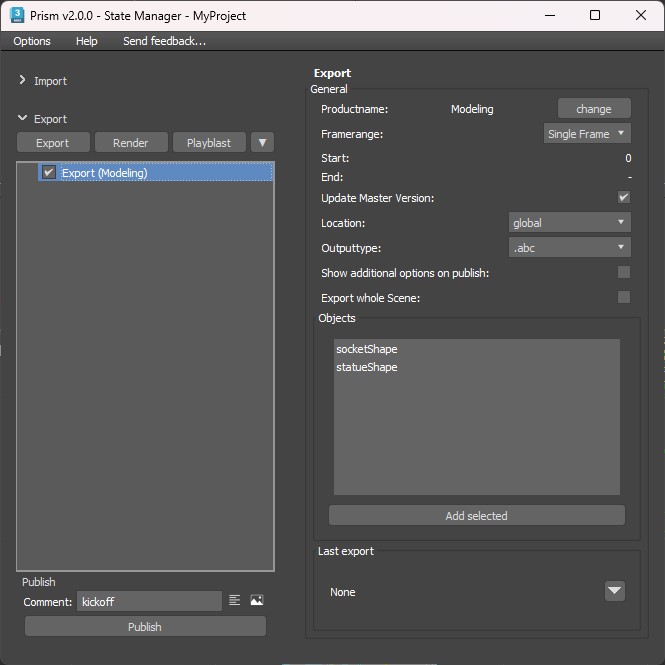
The exported product version can be found in the "Products" tab in the Prism Project Browser.
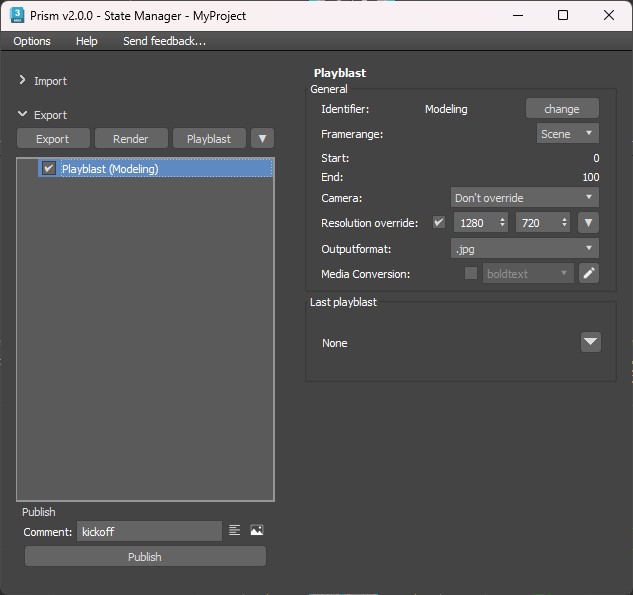
Creating Playblasts#
To create and save a playblast you can open the State Manager from the Prism menu.
In the "Export" section click the "Playblast" button to create a "Playblast" state.
When the state is selected you can set the playblast settings on the right side in the State Manager.
You can then use the "Publish" button at the bottom of the State Manager to execute the state and create a playblast of your scene.
The playblast can be found in the "Media" tab in the Prism Project Browser.
Rendering#
To render your scene and save it to disk you can open the State Manager from the Prism menu.
In the "Export" section click the "Render" button to create a "Render" state.
When the state is selected you can set the render settings on the right side in the State Manager.
You can then use the "Publish" button at the bottom of the State Manager to execute the state and create a render of your scene.

The render can be found in the "Media" tab in the Prism Project Browser.
If you have the Deadline plugin installed you will see an option to submit the render as a job to the Deadline render farm.